
Quick Summary: Don’t toss those silent Bluetooth headphones just yet! This guide offers proven, beginner-friendly fixes for common issues like no sound, connection problems, or charging failures. Learn simple troubleshooting steps to get your favorite audio gear working again without a fuss.
Repair Bluetooth Headphones: Proven Steps for the Everyday Listener

Hey there, fellow audio adventurers! Edward Cavitt here from Headphone Horizon. We all rely on our trusty Bluetooth headphones, whether it’s for that morning podcast, your workout playlist, or diving deep into a new album. But what happens when the sound suddenly cuts out, they refuse to pair, or the battery just won’t hold a charge? It can be frustrating, especially when they feel like an extension of your own senses. Before you consider them lost causes, let’s explore some straightforward, proven steps to revive your Bluetooth headphones. We’ll break down common problems and offer simple solutions that anyone can follow to bring your music back to life.
Why Do Bluetooth Headphones Stop Working? Common Culprits

Bluetooth headphones are fantastic for freedom from wires, but like any tech, they can encounter hiccups. Understanding the common causes can help us diagnose the problem more effectively. Most issues fall into a few categories:
- Connectivity Problems: These are super frequent. Your headphones might not be pairing, staying connected, or showing up in your device’s Bluetooth menu.
- Audio Issues: One earbud silent, crackling sound, or no sound at all, even when connected.
- Charging and Battery Woes: The classic “won’t charge” or “battery drains too fast” scenarios.
- Physical Damage: While we aim to avoid this, accidental drops or exposure to elements can cause issues.
Essential Tools for Basic Repairs
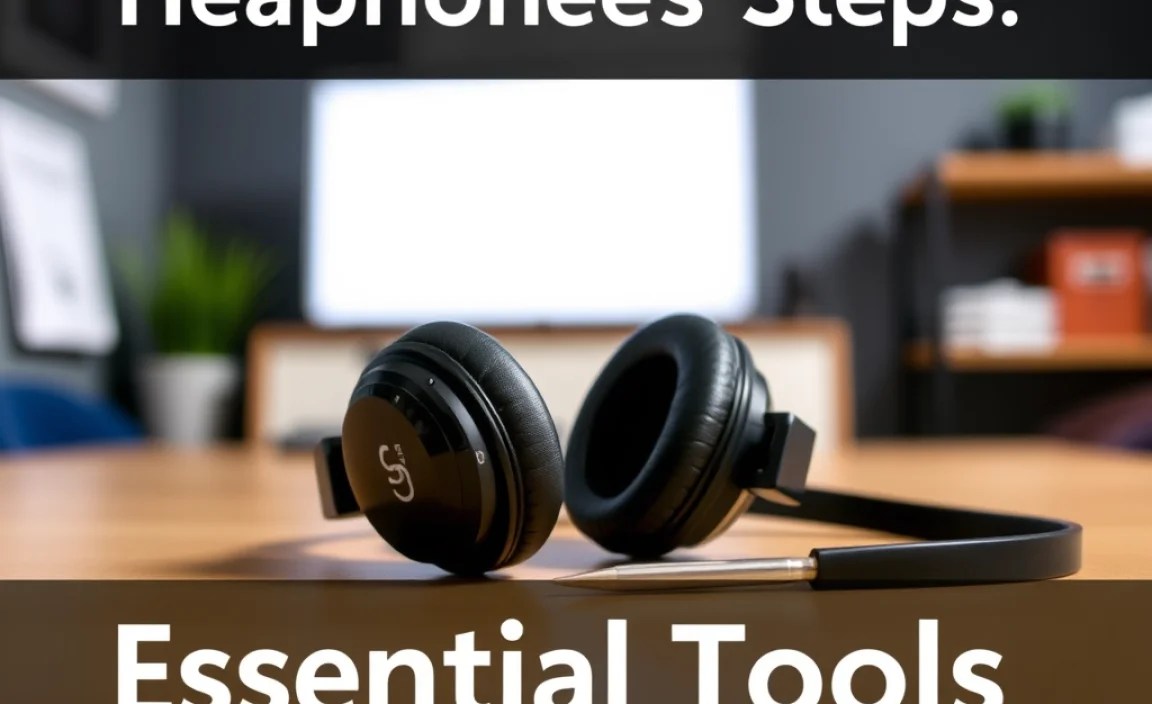
Before we jump into the fixes, let’s gather a few simple things that might come in handy. You probably have most of these around the house already!
What You’ll Need:
- Your problematic Bluetooth headphones.
- The charging cable and power source for your headphones (and a spare if possible).
- The device your headphones are supposed to connect to (smartphone, tablet, computer).
- A soft, dry, lint-free cloth.
- Cotton swabs.
- Rubbing alcohol (isopropyl alcohol, at least 70%) for cleaning.
- A toothpick or a very small, non-metallic pin (use with extreme caution).
- Patience and a positive attitude!
Step-by-Step: Troubleshooting Bluetooth Connection Issues
Connection problems are the most common foes of Bluetooth headphones. Let’s tackle them head-on with these practical steps.
Step 1: The Universal Fix – Restart Everything
This might sound too simple, but it resolves a surprising number of glitches. Just like restarting your computer often fixes minor software hiccups, a quick reboot of your headphones and your connected device can clear temporary issues.
- Turn off your Bluetooth headphones completely.
- Turn off Bluetooth on your smartphone, tablet, or computer.
- Wait about 30 seconds.
- Turn your headphones back on and enter pairing mode (check your manual for how to do this – usually involves holding a button).
- Turn Bluetooth back on on your device.
- Try pairing again.
Step 2: Forget and Re-pair Your Headphones
Sometimes, the saved connection profile between your device and headphones gets corrupted. “Forgetting” the device from your Bluetooth settings and then re-pairing can create a fresh, stable connection.
On iOS (iPhone/iPad):
- Go to Settings > Bluetooth.
- Find your headphones in the list of devices.
- Tap the “i” icon next to their name.
- Select “Forget This Device” and confirm.
- Restart your headphones and follow their pairing instructions to connect again.
On Android:
- Go to Settings > Connected devices (or Connections > Bluetooth).
- Tap the gear or settings icon next to your headphones’ name.
- Select “Forget” or “Unpair” and confirm.
- Restart your headphones and enter pairing mode to connect again.
On Windows 10/11:
- Go to Settings > Devices (or Bluetooth & devices).
- Under “Bluetooth,” find your headphones.
- Click on them, then select “Remove device” and confirm.
- Restart your headphones, put them in pairing mode, and search for them in your Bluetooth settings to re-add.
On macOS:
- Go to System Preferences (or System Settings) > Bluetooth.
- Hover over your headphones, click the “X” or minus (-) icon.
- Confirm by clicking “Remove” or “Disconnect.”
- Restart your headphones, put them in pairing mode, and reconnect through the Bluetooth menu.
Step 3: Check for Interference and Distance
Bluetooth operates on the 2.4 GHz frequency, which can be crowded. Physical obstructions and other devices can disrupt the signal.
- Move closer to your connected device.
- Remove potential sources of interference like microwaves, other Bluetooth devices, or Wi-Fi routers if they are very close.
- Some newer headphones support Bluetooth 5.0 or later, which offers improved range (up to 100 meters or 330 feet in open space), but this is reduced significantly by obstacles.
Step 4: Update Your Device’s Software and Firmware
Outdated operating system software on your phone or computer can sometimes cause compatibility issues with Bluetooth devices. Similarly, some headphones have firmware updates available through a companion app. Check for both!
- Device Software: Go to your device’s settings (e.g., Settings > General > Software Update on iOS, or Settings > System > System Update on Android).
- Headphone Firmware: Consult your headphone manufacturer’s website or look for a dedicated app (e.g., Sony Headphones Connect, Bose Music, Jabra Sound+). These apps often guide you through the update process.
Step 5: Ensure Headphones Are Not Connected Elsewhere
Many Bluetooth headphones can only be actively connected to one device at a time. If your headphones were previously paired and automatically connected to a different device (like a tablet in another room), they might not connect to your current one. Turn off Bluetooth on other nearby devices you’ve previously paired them with to ensure a clean connection to your primary device.
Troubleshooting Audio Problems: No Sound or Crackling

When your headphones are connected but the audio is problematic, we need to investigate the sound itself.
Step 1: Check Volume Levels and Mute Settings
The simplest explanation is often the correct one! Double-check the volume on both your source device and your headphones. Also, ensure neither is muted.
Step 2: Test with a Different Audio Source/App
Is the problem with the headphones or the content? Try playing audio from a different app (e.g., YouTube, Spotify, a local audio file) or a different type of media (music, podcast, phone call). This helps determine if the issue is with a specific file or app.
Step 3: Test with a Different Device
To isolate the problem further, try pairing your headphones with a completely different Bluetooth-enabled device (e.g., another smartphone, a laptop). If they work fine with the second device, the issue likely lies with your original source device.
Step 4: Clean the Earbuds/Headphone Grilles
For in-ear headphones (earbuds), earwax, dirt, and debris can accumulate in the speaker grilles, blocking sound or causing distortion.
- Gently detach any silicone ear tips.
- Use a dry cotton swab or a soft, dry brush to carefully clean around the grille. For stubborn debris, you can lightly dampen a cotton swab with rubbing alcohol (isopropyl alcohol, 70% or higher). Make sure it’s just barely damp and never let liquid seep into the speaker.
- Allow to dry completely before reattaching ear tips and using.
- For over-ear or on-ear headphones, gently wipe the earcups and visible areas with a dry cloth. Check if the speaker grilles within the earcups are obstructed, though these are less prone to blockage than earbuds.
Step 5: Check for Physical Damage (One Earbud Silent)
If only one earbud is silent, carefully inspect it for any visible damage. Sometimes, a loose connection inside can occur from drops. If there’s a visible seam or cover, and you’re comfortable performing delicate work, you might find online guides specific to your model for inspecting internal connections – proceed with extreme caution here, as it can void warranties.
Fixing Charging and Battery Issues
A dead battery or a headphone that refuses to charge can be a real bummer. Let’s go through the common fixes.
Step 1: Examine and Clean Charging Ports
Just like earbud grilles, charging ports can get clogged with lint, dust, or debris, preventing a proper connection.
- Inspect the charging port on your headphones (and the charging case if applicable).
- Gently use a dry cotton swab or a soft brush to remove any visible obstruction. For stubborn dirt, a slightly dampened (with rubbing alcohol, not water) toothpick or small pin can be used with utmost care – avoid forcing anything or damaging the pins.
- Ensure the charging cable’s connectors are also clean and free of debris.
Step 2: Try a Different Charging Cable and Power Source
Faulty cables or power adapters are surprisingly common. You might be surprised how often a simple cable swap solves the problem.
- Use a known-working USB cable that fits your headphones.
- Try plugging into a different USB port on your computer or a different wall adapter.
- The U.S. National Institute of Standards and Technology (NIST) provides information on USB standards, which can be helpful when troubleshooting connectivity issues: https://www.nist.gov/topics/information-technology/usb
Step 3: Check Charging Case Indicators (for True Wireless)
For true wireless earbuds, the charging case is crucial. Make sure the case itself is charged. Most cases have indicator lights that show their battery status. If the case is dead, it can’t charge your earbuds.
Step 4: Perform a Power Cycle/Reset on Headphones
Many headphones have a reset function that can clear internal power management errors. The exact method varies greatly by brand and model.
Common reset procedures include:
- Placing earbuds in a fully charged case and holding a button on the case for 10-20 seconds.
- With the headphones off, pressing and holding two buttons (like power and Bluetooth) simultaneously for a period.
- Connecting the headphones to power via USB while performing a button sequence.
Always refer to your specific headphone model’s manual or the manufacturer’s support website for the correct reset procedure. A quick search for “[Your Headphone Model] reset” should yield results.
