
Quick Summary: Revitalize your Beats Studio headphones with new replacement ear pads. This guide explains why this simple upgrade is essential for comfort and sound, how to choose the right pads, and provides clear, step-by-step instructions on how to replace them yourself. Get better sound and a more comfortable listening experience easily.
Your Beats Studio Headphones Deserve a Comfort & Sound Refresh: The Magic of Replacement Ear Pads
Hey there, fellow music lovers and headphone enthusiasts! Edward Cavitt here, your guide to all things audio at Headphone Horizon. So, you’ve got a pair of Beats Studio headphones – fantastic choice for immersive sound! But over time, even the best gear can show signs of wear. That plush cushioning that once hugged your ears might be feeling a bit flat, or perhaps the seal isn’t quite what it used to be. Before you think about replacing your whole headset, let me introduce you to a simple, budget-friendly, and remarkably effective upgrade: replacement ear pads. These aren’t just about aesthetics; they play a crucial role in maintaining the comfort and, believe it or not, the sound quality you fell in love with. Let’s dive into why this essential upgrade is a game-changer.
Why Replace Your Beats Studio Ear Pads? More Than Just Comfort!
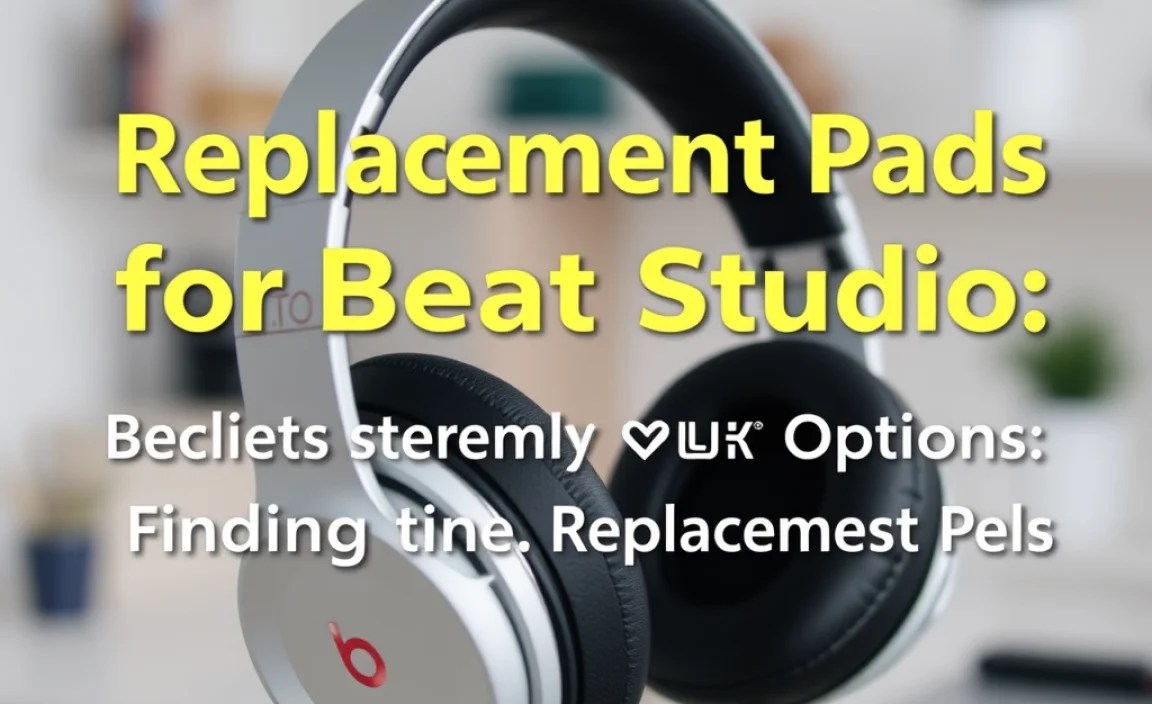
Your Beats Studio headphones are designed to provide a specific listening experience. The ear pads are more than just soft padding; they are a critical component that creates a seal around your ears. This seal is vital for several reasons:
- Sound Quality: A good seal prevents sound from leaking out and external noise from leaking in. Worn-out pads compromise this seal, which can lead to weakened bass, a less immersive soundstage, and a general degradation of audio fidelity. Think of it like a leaky window – your carefully crafted sound is escaping!
- Comfort: This one is obvious! Over months and years of use, the foam inside ear pads compresses, and the pleather or fabric can crack and become stiff. This leads to discomfort during long listening sessions, pressure points, and even irritation.
- Hygiene: Ear pads absorb sweat, oils, and can collect dust and debris. Regularly replacing them is a hygienic practice, especially if you share your headphones or use them during workouts.
- Aesthetics: Let’s be honest, worn-out, peeling ear pads can make even the sleekest headphones look tired and unappealing.
Replacing your ear pads is an investment in prolonging the life and enjoyment of your Beats Studio headphones. It’s a practical solution that brings back that “new headphone” feeling without the new headphone price tag.
Understanding Your Options: Finding the Perfect Replacement Pads
When it comes to replacement pads for Beats Studio headphones, you’ll find a variety of materials and brands. Choosing the right ones can significantly impact your listening experience. Let’s break down the common types:
Material Matters: The Feel and Sound of Different Pads
The material of your ear pads influences both comfort and sound isolation. Here are the most common options:
- Protein Leather (Often called “PU Leather” or “Faux Leather”): This is the most common replacement material, mimicking the original feel of many Beats headphones. It’s durable, easy to clean, and offers good passive noise isolation. Protein leather can sometimes feel a bit warmer than fabric options during long wear.
- Memory Foam: Many replacement pads incorporate memory foam within their construction. This foam molds to the shape of your head over time, offering exceptional comfort and improving the seal. It’s a popular choice for long listening sessions.
- Velour/Fabric: Less common for Beats Studio replacements but available. Velour pads are generally more breathable and cooler to wear, making them excellent for warmer environments or extended use. However, they might offer slightly less passive noise isolation compared to leather.
Compatibility is Key: Which Pads Fit My Beats Studio Model?
Beats Studio headphones have had a few iterations over the years. While many replacement pads are designed to be universal for the “Studio” line, it’s crucial to confirm compatibility with your specific model. Common models include:
- Beats Studio
- Beats Studio 2.0 (wired and wireless)
- Beats Studio 3 Wireless
Always check the product description of the replacement pads before purchasing. Most reputable sellers will clearly list the compatible models. If you’re unsure, consult your headphone’s manual or look for identifying marks on your current ear cups.
What to Look For in Quality Replacement Pads
Not all replacement pads are created equal. Here are a few things to consider to ensure you’re getting a product that will last and perform well:
- Stitching and Seams: Look for clean, strong stitching. Poorly done seams are a common failure point.
- Adhesive: Ensure the pads use a good quality adhesive that is securely attached to the ear cup frame. Some kits come with extra adhesive strips.
- Thickness and Density: Pads that are too thin might not provide enough cushioning or seal. Conversely, overly dense pads can feel stiff.
- Reviews: Always check customer reviews. People often share valuable insights about durability, comfort, and how well the pads fit and affect sound.
Gathering Your Tools: What You’ll Need for the Replacement

The great news is that replacing your Beats Studio ear pads is a straightforward DIY task. You typically won’t need many specialized tools. In most cases, you can accomplish this with just your hands and maybe a small, flat implement.
Essential Items:
- New Replacement Ear Pads: Of course! Make sure you’ve purchased the correct ones for your Beats Studio model.
- Your Beats Studio Headphones: The star of the show.
Optional (but Recommended) Tools:
- Plastic Pry Tool or Old Credit Card: This can be helpful for gently prying off the old ear pads. Using plastic is preferable to metal to avoid scratching your headphones.
- Small Flathead Screwdriver (use with extreme caution or avoid): Only if the plastic tool isn’t sufficient and you’re confident you won’t damage anything. Plastic is much safer!
- Microfiber Cloth: For cleaning the ear cup frame before attaching the new pads.
Step-by-Step: How to Replace Your Beats Studio Ear Pads (Beginner-Friendly Guide)
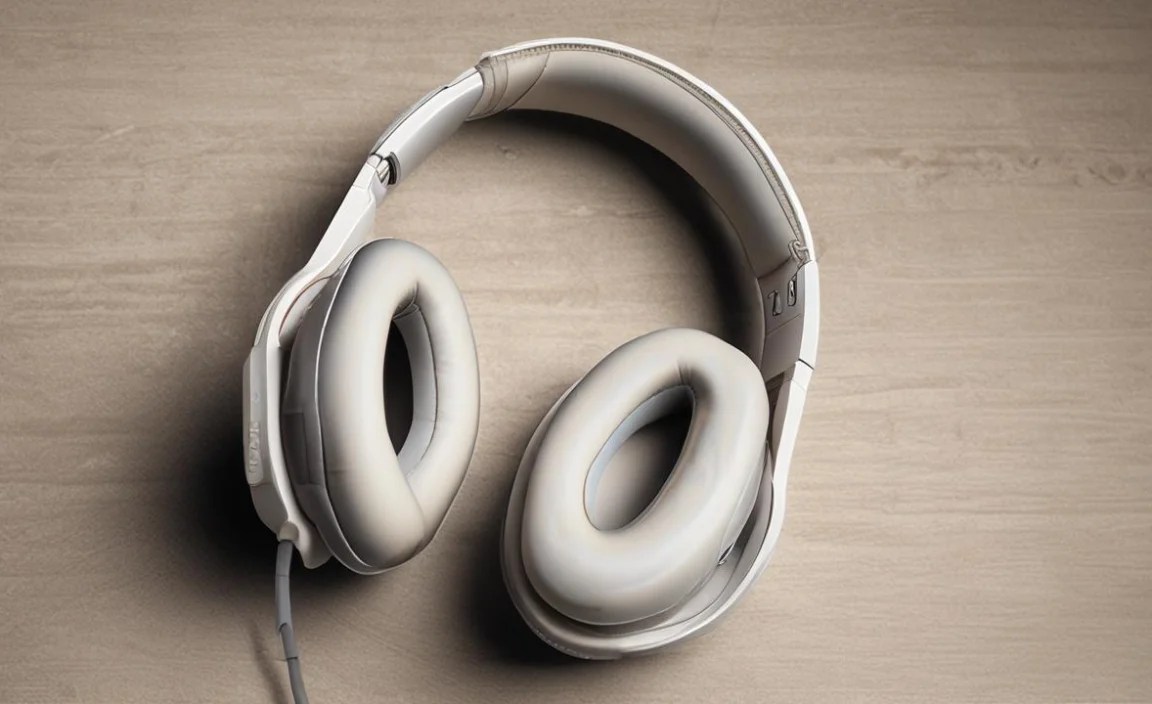
Let’s get your headphones feeling and sounding like new. This process is designed to be simple and stress-free. Follow these steps carefully.
Step 1: Prepare Your Workspace and Headphones
Find a clean, well-lit area to work. This will prevent you from misplacing small parts and make the process smoother. Gently power off your Beats Studio headphones if they are wireless.
Step 2: Carefully Remove the Old Ear Pads
This is often the part that seems trickiest, but it’s usually quite simple for most Beats Studio models. The ear pads are generally clipped or lightly adhered into place around the outer edge of the ear cup.
- Inspect the Edge: Look closely at where the ear pad meets the plastic housing of the ear cup. You’ll usually see a seam or a lip.
- Gently Pry: If the pads are attached with clips, take your plastic pry tool (or credit card) and gently insert it into the seam between the pad and the ear cup. Work your way around the edge, lightly prying upwards to release the clips. You might hear small popping sounds as they disengage – this is normal.
- For Adhered Pads: Some models might have a thin layer of adhesive. Again, use your plastic tool to gently work around the edge and break the adhesive seal. Be patient and avoid yanking, which could damage the plastic.
- Pull Away: Once you’ve gone all the way around, the old ear pad should come off. Be mindful if there are any wires or internal components visible; try not to disturb them.
Step 3: Clean the Ear Cup Area
Before attaching the new pads, take your microfiber cloth and gently wipe down the area where the old pads were attached. Remove any lint, dust, or leftover adhesive residue. A clean surface ensures a better fit for the new pads.
Step 4: Attach the New Replacement Ear Pads
Most replacement pads are designed to snap or adhere into place just like the originals. They often have a specific orientation.
- Align the Pads: Take your new ear pads and identify the correct orientation. Some pads have a slight curve or a designation for left/right. Align the new pad with the ear cup housing.
- Press into Place: If your new pads have adhesive on the back, carefully peel off the protective backing. Align the pad precisely and press it firmly around the edges. Work your way around, ensuring a secure bond.
- Snap into Position: If your pads are secured by clips, align the new pad and press down firmly around the entire edge. You should feel or hear the clips snapping back into place. Apply even pressure to ensure it’s seated securely.
- Check for Security: Gently tug on the pad to ensure it’s fully attached and won’t easily come off during normal use.
Step 5: Repeat for the Other Ear Cup
Follow the exact same steps for the other ear cup to complete the replacement process.
Step 6: Test Your “New” Headphones!
Power on your headphones and play some of your favorite music. Notice the renewed comfort and how the improved seal enhances the bass and overall sound quality. You’ve just given your Beats Studio headphones a fantastic second life!
Comparing Replacement Pad Brands and Types: What’s the Difference?

Choosing the right replacement pads can feel overwhelming with so many options available. While Beats Studio headphones are iconic, the aftermarket for replacement parts is robust. Here’s a look at some common considerations and how different types might perform.
| Feature | Protein Leather | Velour/Fabric |
|---|---|---|
| Comfort | Soft, smooth feel; can be warmer. | Breathable, cooler feel; softer texture. |
| Durability | Generally good; resistant to minor wear and tear. | Can be prone to fraying or pilling over time. |
| Sound Isolation | Excellent passive isolation, good for noisy environments. | Moderate isolation; allows more ambient sound in. |
| Maintenance | Easy to wipe clean. | May require more careful cleaning if stained. |
| Common Use Case | Mimics original feel, ideal for most users. | For those prioritizing a cooler, softer feel. |
When looking at brands, you’ll often see generic options on marketplaces like Amazon or eBay, as well as specialized headphone accessory brands. For example, brands like Wicked Cushions or Dekoni Audio are known for producing high-quality.
