
Performing a sound test for your headphones is crucial for ensuring optimal audio quality and comfort. This guide helps you understand the essential listening elements, from bass response to clarity, empowering you to check if your headphones are performing as they should and to make informed purchasing decisions.
Sound Test For Headphones: Essential Listening For Every Ear

Hey there, fellow audio adventurers! Edward Cavitt here from headphonehorizon. Ever put on a new pair of headphones and felt like something was just… off? Maybe the music didn’t have that exciting punch, or the vocals sounded a bit muffled. It’s a common experience, and one that can really take the joy out of listening. That’s where a good sound test comes in. It’s not about being an audiophile guru; it’s about training your ears to recognize what sounds great and what might be holding your music back. Think of it as giving your headphones a little check-up to make sure they’re singing their best tune. We’re going to break down the most important aspects to listen for, making sure your next listening session is nothing short of brilliant.
Why Bother With A Sound Test? It’s More Than Just Music

You might be wondering, “Do I really need to test my headphones? Aren’t they just supposed to play sound?” Great question! While headphones are designed to reproduce sound, not all headphones are created equal. A sound test is your secret weapon for several reasons:
- Ensuring Quality Reproduction: Your expensive headphones or that new pair you’re eyeing should accurately reflect the nuances in your music. A sound test helps reveal if they are truly doing justice to the recording.
- Comfort and Fit: Beyond the sound itself, how the headphones feel and seal around your ears significantly impacts the listening experience, especially for low frequencies.
- Identifying Flaws: Sometimes, headphones can have manufacturing defects or imbalances. A sound test can help you spot crackling, distortion, or one side being quieter than the other – issues you’ll want to address or return.
- Informed Buying Decisions: When shopping, experiencing how different headphones perform with familiar tracks can guide you toward the sound profile that best suits your tastes, whether you love deep bass or crystal-clear treble.
- Optimizing Your Setup: A sound test isn’t just for buying. It can also help you understand how your headphones interact with different audio sources or players.
The Essential Elements: What To Listen For
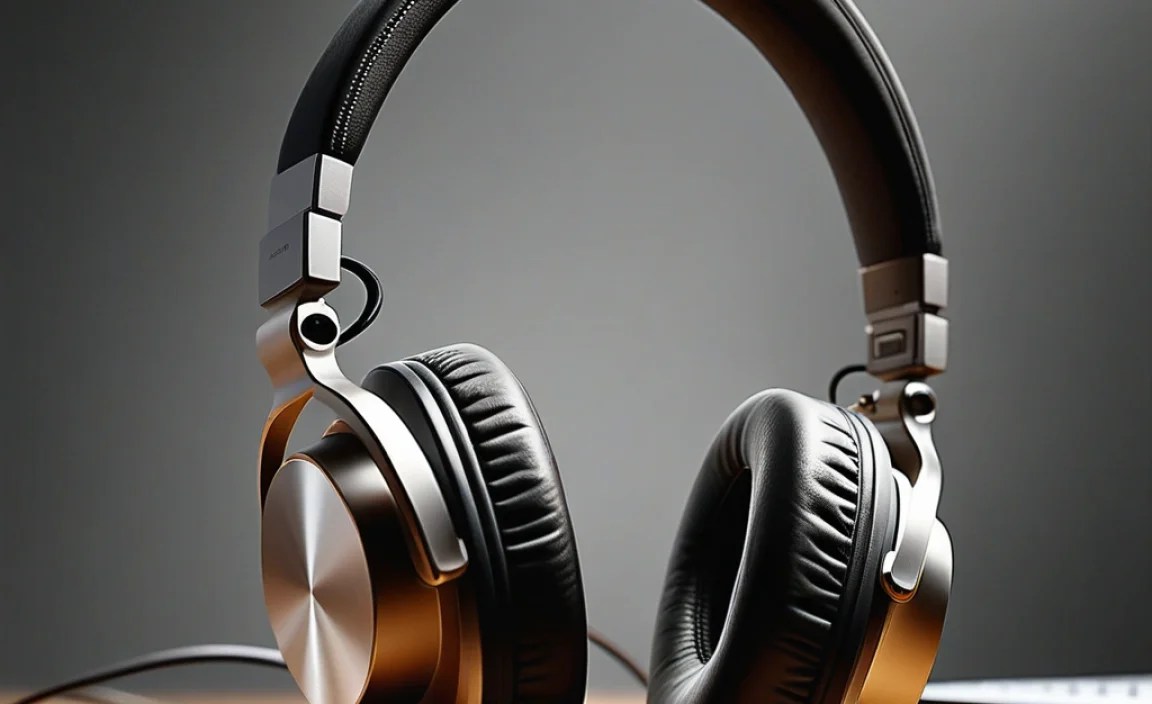
When we talk about sound quality, it boils down to a few key characteristics. We’ll break these down so they’re easy to understand. Think of these as the building blocks of what makes headphones sound good.
1. Bass (Low Frequencies): The Foundation
Bass is the low-end rumble and punch that gives music its groove and power. It’s what you feel as much as hear in a great kick drum or a deep bassline. When testing bass, ask yourself:
- Is it Clear or Muddy? Good bass is defined and distinct, not a blurry mess. You should be able to hear individual bass notes.
- Is it Boomy or Tight? Boomy bass can be overwhelming and fatiguing. Tight bass has impact but doesn’t linger excessively.
- Is it Present? Some headphones are criticized for having weak or barely-there bass. You want enough to enjoy the music’s foundation, but not so much that it overpowers everything else.
- Does it Distort? At higher volumes, does the bass start to crackle or sound like it’s struggling? This indicates the headphones are being pushed too hard or aren’t built to handle that low-end demand.
2. Midrange: The Heart of the Music
The midrange is where most of the crucial elements of music reside: vocals, guitars, pianos, and many other instruments. It’s what gives music its body and emotional connection. When listening for the midrange, consider:
- Vocal Clarity: Can you easily understand the lyrics? Do singers sound natural and present, or are they pushed too far back or drowned out by other frequencies?
- Instrument Separation: Can you distinguish between different instruments playing at the same time? For example, can you hear the distinct strum of a guitar alongside a piano melody?
- Natural Tone: Do instruments sound like their real-life counterparts? A piano shouldn’t sound tinny, and a guitar shouldn’t sound overly harsh or distant.
3. Treble (High Frequencies): The Sparkle and Detail
Treble adds detail, air, and sparkle to the sound. Think of the shimmer of cymbals, the sibilance in a vocal (the “s” and “sh” sounds), or the crispness of a hi-hat. What to listen for in the treble:
- Clarity and Detail: Can you hear fine details like the decay of a cymbal crash or the subtle breath of a singer? Good treble reveals these nuances.
- Smoothness: Treble can be the source of listening fatigue if it’s too sharp or “hot.” Does it sound harsh, piercing, or fatiguing after a short while? Or is it smooth and airy?
- Sibilance: This is a common issue where “s” and “t” sounds in vocals become overly emphasized and unpleasant. While some sibilance is natural, excessive sibilance can be a sign of poorly-tuned treble.
4. Soundstage: The Imaginary Room
Soundstage refers to the perceived width, depth, and spaciousness of the audio. It’s about the illusion that the music is happening around you, not just inside your head. Good soundstage makes music feel more immersive and lifelike. Consider:
- Width: Does the sound feel like it’s coming from just your ears, or does it spread out to the sides, giving a sense of stereo separation?
- Depth: Can you perceive sounds as being in front of you, behind you, or at different distances?
- Instrument Placement: In a well-recorded track with a good soundstage, you should be able to mentally place where each instrument or vocalist is located within the “space” that the headphones create.
- “In Your Head” vs. “Out of Your Head”: Some headphones can make it feel like the music is trapped inside your skull. A good soundstage aims to break that barrier.
5. Imaging: Pinpointing the Sources
Imaging is closely related to soundstage but focuses on the precise placement and clarity of individual instruments or sounds within that perceived space. It’s about how well you can distinguish where each element is coming from. Ask yourself:
- Separation: Can you clearly pinpoint the location of a snare drum? How about a vocal or a guitar solo?
- Focus: Do the instruments sound like distinct points, or are they blurry? Excellent imaging provides sharp, defined locations for each sound.
6. Dynamics: The Life of the Music
Dynamics refer to the range between the quietest and loudest sounds in a piece of music, and how quickly the sound can shift between them. It’s what gives music its impact, excitement, and emotional flow. Listen for:
- Impact: Does a sudden loud sound (like a drum hit) have the expected punch and impact?
- Subtlety: Can you hear the very quietest passages clearly, or do they get lost?
- Speed: How quickly do the headphones respond to changes in volume? This is especially noticeable in fast-paced music or sudden dynamic shifts.
7. Distortion and Clarity: The Absence of Nuisance
This is about what shouldn’t be there. Distortion is any unwanted alteration to the original sound, making it sound unnatural or unpleasant. Clarity is the overall purity of the sound.
- Listen at Different Volumes: Does the sound become “broken,” fuzzy, or crackly when you turn up the volume? This is a clear sign of distortion.
- Are Sounds Muddled? If instruments and vocals blend into a muddy mess, it can indicate a lack of clarity and poor separation.
- Overall Purity: Does the sound feel clean and well-defined, or does it have a generally “noisy” or compromised quality?
Your Toolkit: What You Need for a Proper Sound Test

You don’t need fancy equipment to do a good sound test. Here’s what’s really handy to have:
1. Your Headphones (Of Course!)
Make sure they are properly connected and any EQ or sound enhancements are turned OFF. We want to hear the headphones as they are.
2. A Reliable Music Source
This could be your smartphone, computer, tablet, or MP3 player. Ensure your audio output is set to its standard settings.
3. Your Favorite Music Tracks
This is key! Use songs you know intimately. Select tracks that are well-recorded and showcase a variety of instruments and vocal ranges. Aim for at least 5-10 tracks that cover different genres and styles.
4. A Quiet Environment
Minimize background noise. This could be a quiet room at home, a library, or even a low-noise office space. External noise can easily interfere with your perception of the audio.
5. Patience and an Open Mind
Don’t rush the process. Take your time listening and comparing. What sounds good to one person might not to another, so trust your ears!
Step-by-Step: How to Conduct Your Sound Test

Ready to put your ears to the test? Follow these steps for a thorough evaluation.
Step 1: Prepare Your Setup
- Disable Sound Enhancements: On your device (phone, computer), go into the audio settings and turn off any equalizers (EQ), Dolby Atmos, spatial audio, or “bass boost” features. We want to hear the headphones, not the software’s interpretation.
- Ensure a Good Seal: For over-ear and in-ear headphones, make sure they create a good seal around or in your ear. For over-ear, try adjusting the earcups. For in-ear, experiment with different ear tip sizes. A good seal is crucial for bass response and isolation.
- Find a Quiet Spot: As mentioned earlier, background noise is the enemy of a good sound test. Find the quietest place possible.
Step 2: Choose Your Test Tracks Wisely
Select a variety of tracks. Here are some suggestions for what to look for in your music library:
- Bass-Heavy Tracks: Think electronic music (dubstep, house), hip-hop, or even some film scores with powerful LFE (Low-Frequency Effects). Listen for clarity, impact, and absence of distortion.
- Vocal-Focused Tracks: Acoustic sets, singer-songwriters, or intimate live recordings. Pay attention to the clarity, naturalness, and emotional delivery of the vocals.
- Complex Instrumental Pieces: Classical music, jazz ensembles, or progressive rock. These tracks are great for testing instrument separation, soundstage, and imaging.
- High-Energy Tracks: Rock anthems, fast-paced electronic music. Listen for how the headphones handle multiple instruments playing simultaneously and if the treble remains clear without becoming harsh.
- Tracks with Delicate Details: Ambient music, recordings with lots of subtle percussion or foley sounds. These can reveal how well the headphones reproduce fine details and airiness.
Step 3: Listen Critically and Take Notes
Put on your headphones and play your first track. Close your eyes and really focus on what you
