
A USB Bluetooth adapter, often called a dongle, easily adds wireless audio to your PC or laptop. It’s a simple, affordable way to enjoy Bluetooth headphones without built-in support, offering freedom from cords and improved sound connectivity. This guide covers what they are, how to choose one, and how to set it up effortlessly.
USB Bluetooth for Headphones: Your Essential Guide to Wireless Freedom

Tired of tangled headphone cords dictating where you can move? Or maybe your trusty computer doesn’t have built-in Bluetooth, leaving your modern wireless headphones disconnected? You’re not alone! Many of us love the convenience of Bluetooth headphones for our phones and tablets, only to find that connecting them to our desktop or laptop is a hassle.
That’s where the humble USB Bluetooth adapter, often nicknamed a “dongle,” comes in. These small, plug-and-play devices are your secret weapon for injecting wireless audio capabilities into almost any computer. In this guide, we’ll break down exactly what a USB Bluetooth adapter is, why you might need one, how to pick the perfect one, and most importantly, how easy it is to get it up and running so you can enjoy your music, podcasts, and calls wirelessly. Let’s dive in and unlock that wireless freedom!
Understanding the USB Bluetooth Adapter (The Dongle)

At its core, a USB Bluetooth adapter is a tiny piece of hardware that plugs into a USB port on your computer. Its sole purpose is to give your computer the ability to communicate wirelessly using Bluetooth technology.
Think of it as a translator – it allows your computer, which without it speaks only the wired language, to understand and send signals using the Bluetooth radio waves that your headphones use.
This is incredibly useful for several reasons. Many older laptops and virtually all desktop computers don’t come with integrated Bluetooth. Even some newer laptops might have Bluetooth, but its range or audio quality might not be ideal for your needs. A USB Bluetooth adapter bypasses these limitations entirely, providing a dedicated, often superior, wireless connection for your audio devices.
Why You Might Need One
- No Built-in Bluetooth: Your computer simply lacks the necessary hardware to connect wirelessly.
- Upgrading Older Devices: You want to add modern Bluetooth capabilities to a computer that’s a few years old.
- Better Range or Stability: The integrated Bluetooth on your device has a weak signal or disconnects frequently.
- Improved Audio Quality: Newer Bluetooth versions and codecs (like aptX or LDAC) offer superior sound, and a dedicated adapter can unlock these.
- Connecting Multiple Devices: Some adapters allow simultaneous connection to multiple Bluetooth devices, including headphones and mice.
Key Features to Look For in a USB Bluetooth Adapter

Not all USB Bluetooth adapters are created equal. When you’re shopping, keep an eye out for these important specifications that will impact your wireless experience.
Bluetooth Version
This is perhaps the most critical factor. Bluetooth is always evolving. Higher versions generally mean better performance in several areas:
| Version | Release Year | Key Improvements |
|---|---|---|
| Bluetooth 4.0 | 2009 | Introduced Bluetooth Low Energy (BLE), improved power efficiency. |
| Bluetooth 4.2 | 2014 | Enhanced security, faster speeds, better power management. |
| Bluetooth 5.0 | 2016 | 4x range, 2x speed, 8x broadcast capacity, improved power efficiency compared to 4.2. Major leap in performance. |
| Bluetooth 5.1 | 2019 | Added direction-finding capabilities (less relevant for headphones), minor improvements. |
| Bluetooth 5.2 | 2020 | LE Audio, Isochronous Channels (for synchronized audio streams), improved power efficiency, LC3 codec. |
| Bluetooth 5.3 | 2021 | Smaller, more frequent advertising packets, improved connection fairness, better channel selection. |
Recommendation: For the best experience with modern headphones, aim for an adapter supporting Bluetooth 5.0 or higher. Bluetooth 5.2 and 5.3 offer the latest advancements, especially if your headphones also support these.
Supported Audio Codecs
Codecs are like languages for audio data. The adapter and your headphones need to speak the same codec language to transmit sound. While all devices support the basic SBC (Low Complexity Subband Coding) codec, higher-quality codecs can significantly improve your listening experience.
- SBC: The default, universally compatible codec. Works, but can sound basic.
- AAC (Advanced Audio Coding): Common on Apple devices, offers better sound quality than SBC and is widely adopted.
- aptX and aptX HD (Qualcomm): Popular for Android and Windows, offering near CD-quality audio with lower latency (good for videos). aptX HD offers even better fidelity.
- LDAC (Sony): A high-resolution audio codec capable of transmitting audio at very high bitrates, often considered the best for audiophiles.
- LC3 (Bluetooth LE Audio): The new standard with Bluetooth 5.2+, offering superior audio quality at lower bitrates and better power efficiency than SBC.
Recommendation: If sound quality is a priority, look for support for AAC, aptX, aptX HD, or LDAC. Ensure your headphones also support these codecs for the best results. For the latest tech, consider adapters supporting LC3 via Bluetooth 5.2+ and LE Audio.
Range and Connectivity
Bluetooth has a typical range of about 30 feet (10 meters) in open spaces. However, newer standards like Bluetooth 5.0 can theoretically extend this. Real-world range can be affected by walls, other wireless devices, and interference. Some adapters advertise “long range” capabilities, which might be beneficial if you need to move further from your computer.
Operating System Compatibility
Most modern USB Bluetooth adapters are plug-and-play for Windows 10/11 and macOS. However, always double-check compatibility, especially if you are running an older operating system or a Linux distribution. Some might require driver installations, which should be straightforward.
Ease of Installation
The beauty of a USB Bluetooth adapter is its simplicity. Most work as “plug-and-play” devices. You insert the dongle into a USB port, and your operating system should recognize it automatically, installing necessary drivers. For older systems or specific models, you might need to download drivers from the manufacturer’s website.
Step-by-Step: Setting Up Your USB Bluetooth Adapter
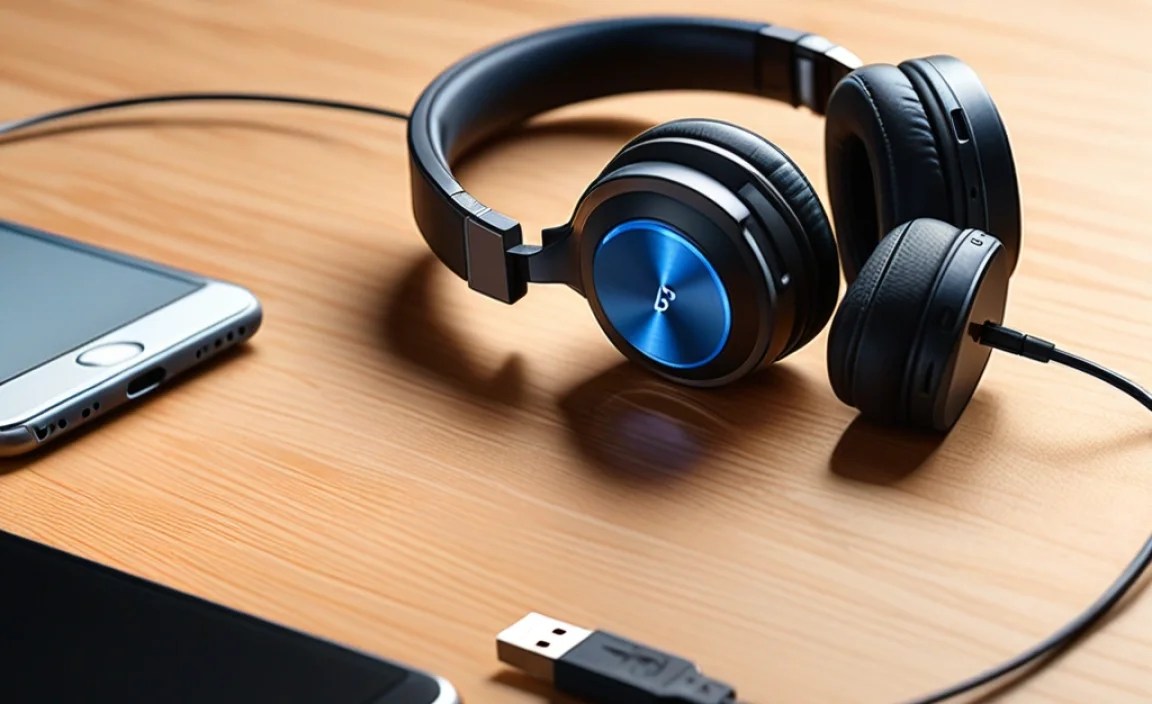
Getting your USB Bluetooth adapter working is usually a breeze. Here’s a general guide that applies to most situations.
Step 1: Choose a USB Port
Find an available USB port on your computer. For optimal performance, especially with USB 3.0 or faster ports, try to use a port that isn’t already heavily utilized by other high-speed devices. However, any standard USB port (2.0 or 3.0) will typically work fine.
Step 2: Plug In the Adapter
Gently insert the USB Bluetooth adapter into the chosen port. It should fit snugly.
Step 3: Let Your Computer Detect and Install Drivers
In most modern operating systems (Windows 10/11, recent macOS versions), the drivers will install automatically. You might see a notification pop up saying “Device driver software installed successfully” or something similar. This process can take anywhere from a few seconds to a couple of minutes.
If drivers don’t install automatically:
- Check the adapter’s packaging for a CD containing drivers, or look for a QR code/website link.
- Visit the manufacturer’s website and navigate to their support or downloads section. Search for your specific adapter model.
- Download the appropriate drivers for your operating system (e.g., Windows 10 64-bit).
- Run the installer file and follow the on-screen instructions.
Step 4: Enable Bluetooth on Your Computer (If Necessary)
Once drivers are installed, Bluetooth should be active. You can check this in your system settings.
For Windows 10/11:
- Click the Start menu and select Settings (the gear icon).
- Go to Devices (or Bluetooth & devices in Windows 11).
- You should see a Bluetooth toggle switch. Make sure it’s turned On. If it’s not there, the adapter might not be installed correctly.
For macOS:
- Click the Apple menu in the top-left corner.
- Select System Settings (or System Preferences in older macOS versions).
- Look for Bluetooth in the sidebar and click on it.
- Ensure Bluetooth is turned On.
Step 5: Put Your Headphones in Pairing Mode
This is where you tell your headphones it’s time to connect to a new device. The exact method varies by headphone model, but generally involves holding down the power button or a dedicated Bluetooth button for a few seconds until an indicator light flashes (often blue or red/blue) or you hear an audio prompt like “pairing.”
Consult your headphone’s manual if you’re unsure how to enter pairing mode.
Step 6: Pair Your Headphones with the Computer
For Windows 10/11:
- In the Bluetooth & devices settings, click on Add device (or Add Bluetooth or other device).
- Select Bluetooth from the options.
- Your computer will scan for nearby Bluetooth devices. Your headphones should appear in the list. Click on their name.
- Wait for the connection to complete. You might see a “Connected” status.
For macOS:
- In the Bluetooth settings, your Mac will automatically scan for devices when Bluetooth is enabled.
- Your headphones should appear in the list of devices. Look for them under “Devices” or “Nearby Devices.”
- Click the Connect button next to their name.
- Wait for the connection to establish.
Step 7: Set Your Headphones as the Default Audio Output
Sometimes, your computer might not automatically switch to your Bluetooth headphones for audio
