
Wireless Headphones for TV: Your Essential Guide to Clearer Sound
Quick Summary: Enjoy your TV without disturbing others! This guide helps you choose and connect wirelessheadphones for TV, covering setup, common issues, and maintenance. Find the perfect audio experience and enhance your home entertainment with ease.
Ever found yourself wishing you could turn up the volume on your favorite show without waking up the whole house? Or maybe you’re dealing with tinny TV audio that makes dialogue a struggle. If so, you’re in the right place! Wireless headphones for TV are a fantastic solution, offering you the freedom to immerse yourself in your programs at your preferred volume. But with so many options out there, picking the right pair and getting them set up can feel a bit daunting. Don’t worry, that’s exactly what this guide is here for. We’ll break down everything you need to know, from understanding the different types of wireless tech to simple troubleshooting tips, all in plain English. Let’s dive in and unlock a better TV listening experience!
Why Go Wireless for Your TV Sound?

The benefits of using wireless headphones with your television are pretty compelling, especially for everyday viewers. Imagine being able to move around your living room, grab a snack from the kitchen, or even do some light chores while still catching every word of your show. That kind of freedom is a game-changer. Beyond convenience, wireless headphones can drastically improve your audio experience, making dialogue clearer and sound effects more immersive than your TV’s built-in speakers often can. Plus, they’re a lifesaver for households with different listening preferences or when you simply want to enjoy late-night viewing without disturbing anyone. It’s about reclaiming your personal audio space and enhancing your overall entertainment enjoyment.
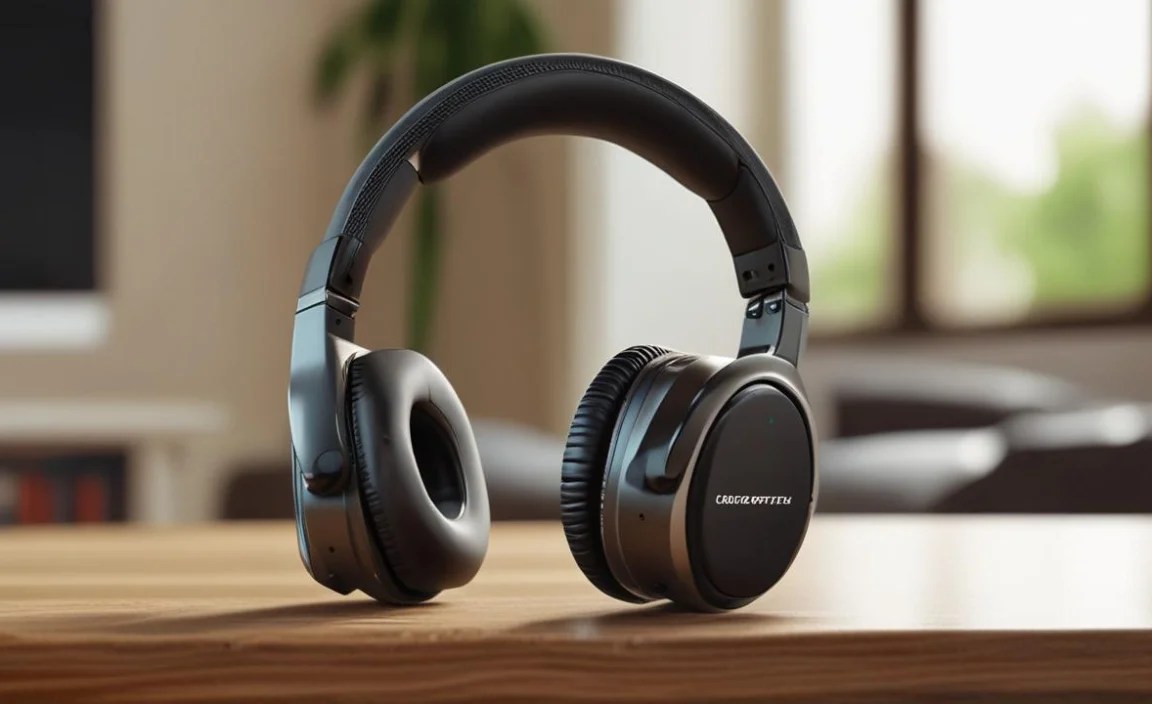
Types of Wireless Headphones for TV

When it comes to wireless headphones for TV, there isn’t a one-size-fits-all solution. The technology and how they connect can vary, meaning some options will work better with your specific TV than others. Understanding these differences is the first step to making a smart choice.
Bluetooth Headphones
Bluetooth is the most common wireless technology you’ll encounter. Most modern TVs have built-in Bluetooth, making it a straightforward connection. Some older TVs might require a Bluetooth transmitter. The advantage of Bluetooth is its ubiquity and simplicity. You pair the headphones directly to your TV or Bluetooth adapter.
- Pros: Widespread compatibility with modern devices, no extra dongles usually needed, relatively easy to set up.
- Cons: Can sometimes have a slight delay (latency) between audio and video, and sound quality can vary.
RF (Radio Frequency) Headphones
RF headphones are a bit more traditional for TV use and are often found in dedicated wireless headphone systems. These systems typically come with a base station that plugs into your TV’s audio output (like a headphone jack or optical port). The headphones then wirelessly connect to this base station using radio waves. Because they use a dedicated transmitter, they often offer a more stable connection and lower latency than Bluetooth, making them excellent for watching movies or sports where syncing is crucial.
Important Note: While RF headphones are fantastic for TV, they generally can’t be paired with other Bluetooth devices like phones or tablets. They are usually designed for a one-to-one connection with their base station.
- Pros: Excellent connection stability, very low latency (minimal audio delay), often have a longer range than Bluetooth from the base station.
- Cons: Require a transmitter base station, less versatile for use with other devices, can be susceptible to interference from other radio signals.
Infrared (IR) Headphones
Infrared headphones are less common nowadays for general consumer use but you might still see them in some home theater setups. Similar to RF, they use a transmitter that connects to your TV. However, IR headphones require a direct line of sight with the transmitter. If you move out of the line of sight, the signal can drop. This makes them less practical for the freedom of movement that most people seek with wireless audio.
- Pros: No interference from other electronics.
- Cons: Requires a direct line of sight, limited range, less common in modern consumer products.
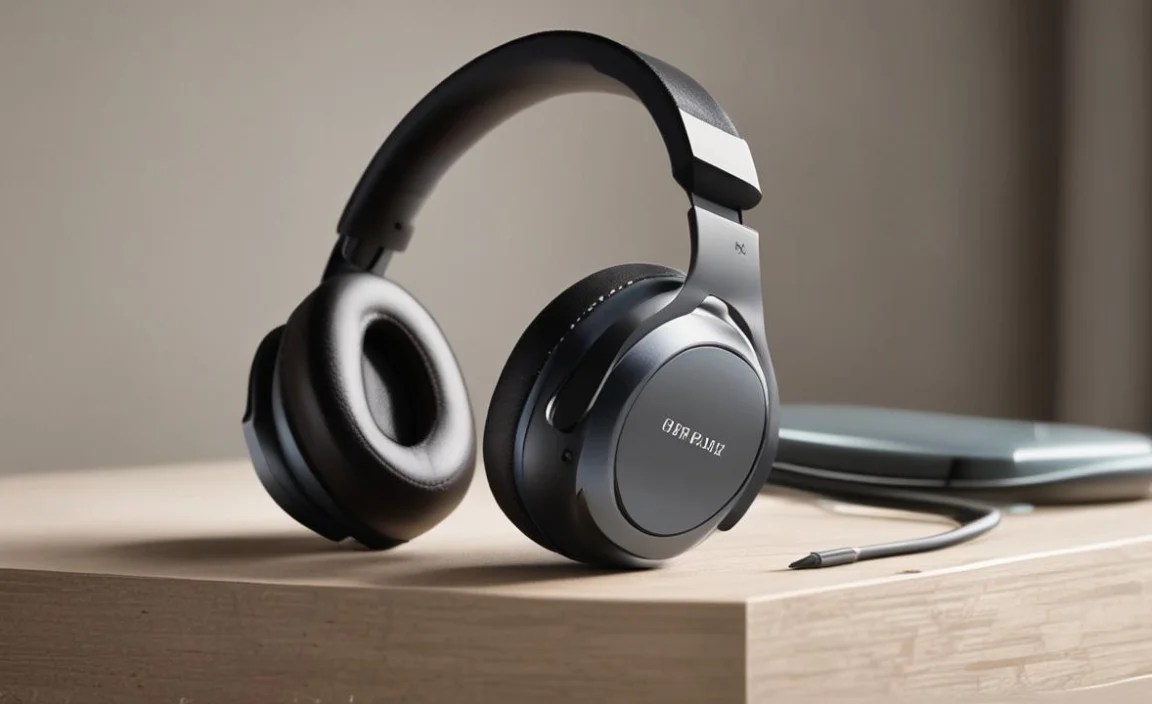
Choosing the Right Wireless Headphones for Your TV

Now that you know the types, let’s think about what matters most for your TV listening experience. It’s not just about cutting the cord; it’s about getting sound that’s clear, comfortable, and perfectly in sync with what’s happening on screen.
Compatibility: The First Hurdle
Before you even look at headphone models, take a peek at your TV. Does it have Bluetooth built-in? Check your TV’s settings menu or consult your user manual. If it does, you’re likely good to go with most Bluetooth headphones. If not, you’ll need a Bluetooth transmitter that plugs into your TV’s audio-out port (usually a headphone jack, RCA audio out, or optical audio out). For RF systems, you’ll always use the included base station that connects to your TV’s audio output.
Latency: Avoiding the Lip-Sync Blues
Latency, or audio delay, is the enemy of a good TV viewing experience. It’s that annoying lag where you see someone speak and then hear the sound a moment later. Bluetooth can sometimes introduce this. For the lowest latency with Bluetooth, look for headphones and transmitters that support the aptX Low Latency codec. This is a specialized Bluetooth audio technology designed specifically to minimize audio delay, making it ideal for video. RF headphones generally have very little noticeable latency right out of the box.
Comfort and Fit: For Long Viewing Sessions
You’ll be wearing these while you relax, so comfort is key. Consider the weight of the headphones and the padding around the earcups. Are they over-ear, on-ear, or in-ear? Over-ear headphones tend to offer the best comfort and passive noise isolation for long periods. Make sure they don’t clamp too tightly but still provide a secure fit.
Sound Quality: Clarity is King
While you might not need audiophile-grade perfection for watching TV, good sound quality makes a big difference. You want headphones that make dialogue easy to understand. Some headphones offer specific “dialogue enhancement” modes, which can be very helpful if spoken words are often hard to catch.
Range: Freedom to Roam
How far do you typically move away from your TV? If you like to wander into the kitchen while still listening, range is important. Bluetooth typically offers around 30-50 feet (10-15 meters) in open space, but this can be reduced by walls and other obstructions. RF systems often boast longer ranges, sometimes up to 100 feet (30 meters) from their base station.
Battery Life and Charging
Most wireless headphones are rechargeable. Check how long they last on a single charge and how they recharge (USB-C, micro-USB, or a charging stand). Many wireless headphone systems for TV come with a charging stand, which makes it super convenient to store and charge your headphones when not in use.
Key Features to Look For
Beyond the basic type, here are some features that can elevate your TV listening experience:
- Dual Connection / Multipoint: Some headphones can connect to two devices simultaneously. This is handy if you want to use them for TV and then quickly switch to your phone for a call.
- Easy Controls: Look for volume controls directly on the earcup so you don’t have to reach for the TV remote every time.
- Noise Cancellation / Isolation: Active Noise Cancellation (ANC) can help block out distracting background noise, while passive noise isolation from well-fitting earcups can also do wonders.
- Comfortable Earpads: Breathable materials and plush padding prevent discomfort during long viewing sessions.
- Open vs. Closed Back: Closed-back headphones isolate sound better and prevent audio from leaking out, which is ideal for shared living spaces. Open-back headphones offer a more spacious sound but can let audio escape. For TV, closed-back is usually preferred.
Setting Up Your Wireless Headphones for TV

The setup process will vary slightly depending on the type of headphones you choose and your TV model. Here’s a general walkthrough for the most common scenarios.
Scenario 1: TV with Built-in Bluetooth
This is often the simplest setup. You’ll be pairing your Bluetooth headphones directly with your TV.
- Put Your Headphones in Pairing Mode: This usually involves holding down the power button or a dedicated Bluetooth button until an indicator light starts flashing (often blue and red, or just flashing blue). Consult your headphone manual if you’re unsure how to do this.
- Enable Bluetooth on Your TV: Navigate to your TV’s settings menu. Look for “Bluetooth,” “Sound,” or “Connection” options. Select the option to search for or add new devices.
- Select Your Headphones: Your TV should detect your headphones. Select them from the list of available devices.
- Confirm Pairing: Your TV may prompt you to confirm the pairing. Once successful, your headphones should show as connected.
- Adjust TV Audio Output: You might need to go back into your TV’s sound settings and ensure that the audio output is set to “Bluetooth” or the name of your headphones. Sometimes, devices will automatically switch, but it’s good to check.
Scenario 2: TV Without Built-in Bluetooth (Using a Bluetooth Transmitter)
This setup involves an external device to bridge the gap.
What You’ll Need:
- Bluetooth headphones
- Bluetooth transmitter (ensure it supports aptX Low Latency for best results)
- Audio connection cable (usually included with the transmitter, e.g., 3.5mm to 3.5mm or 3.5mm to RCA)
- USB power source for the transmitter (often a USB port on the TV or a wall adapter)
- Connect the Transmitter to Your TV: Find your TV’s audio output port.
- Headphone Jack (3.5mm): Plug one end of the 3.5mm cable into your TV’s headphone jack and the other into the transmitter’s audio input.
- Optical Audio Out (Toslink): Use an optical cable (ensure it’s a digital audio cable, not an Ethernet cable!) to connect from your TV’s optical out to the transmitter’s optical in. You might need to configure your TV’s audio output to “PCM” or “Optical.”
- Power the Transmitter: Plug the transmitter into a USB power source. Some transmitters can be powered by a TV’s USB port, while others use a wall adapter.
- Put the Transmitter in Pairing Mode: Most transmitters have a pairing button. Press and hold it until an indicator light flashes.
- Put Your Headphones in Pairing Mode: Just like in Scenario 1, get your headphones ready to pair.
- Pair Headphones to Transmitter: Keep your headphones close to the transmitter. They should automatically detect each other and pair. A solid LED light on both devices usually indicates a successful connection.
- Adjust TV Audio Output: Go into your TV’s sound settings. If you used the headphone jack, you might need to select “Headphone” or disable the TV speakers. If you used optical, select “Optical” as the audio output. You may need to mute your TV speakers entirely to avoid sound coming from both the TV and your headphones.
Scenario 3: Dedicated RF Wireless Headphone System
These systems are designed to be plug-and-play for TV audio.
What You’ll Need:
- RF wireless headphone system (headphones and base station)
- Audio connection cable (usually included, e.g., 3.5mm to 3.5mm, 3.5mm to RCA, or optical cable)
- Power adapter for the base station
- Connect the Base Station to Your TV: Use the provided audio cable to connect the audio output of your TV to the audio input of the base station. Common connections include RCA (red and white ports), 3.5mm headphone jack, or optical audio out.
- Power the Base Station: Plug the base station into a power outlet using its adapter.
- Turn on Headphones and Base Station: Power on both your headphones and the base station.
- Automatic Pairing: Most RF systems are pre-paired. Simply turn them on, and they should connect automatically. If they don’t, consult your system’s manual; there’s usually a pairing button on both the headphones and base station.
- Adjust TV Audio Output: Similar to the Bluetooth transmitter setup, you may need to go into your TV’s sound settings to select the correct audio output (e.g., “Headphone,” “Optical,” or disable internal speakers) so the sound is routed to the base station.
Troubleshooting Common Issues
Even with the best setup, you might run into a snag. Here are some common problems and easy fixes:
No Sound at All
- Check Power: Are both your headphones and transmitter/base station powered on?
- Check Volume: Is the volume turned up on your headphones AND on your TV (if applicable)? Sometimes the TV volume needs to be up for the audio output to work.
- Check Connections: Ensure all audio cables are securely plugged into the correct ports on both the TV and the transmitter/base station.
- Check TV Audio Output Settings: This is a big one! Make sure your TV’s audio output is set to the correct setting (e.g., Bluetooth, Optical Out, Headphone Out, or disable internal speakers). Refer to your TV manual.
- Check Pairing Status: For Bluetooth, are the headphones successfully paired with the TV or transmitter? Look for solid indicator lights.
Audio Delay (Lip-Sync Issues)
This is most common with standard Bluetooth connections.
- Use aptX Low Latency: If your TV or transmitter and headphones all support aptX Low Latency, ensure it’s enabled. This is often automatic but sometimes can be selected in menus.
- Try RF Headphones: If lip-sync is a constant problem and you primarily use them for TV, an RF system is often the best solution due to its inherent low latency.
- Restart Devices: Sometimes a simple restart of your TV, headphones, and transmitter can resolve temporary glitches.
- Check Transmitter Placement: Ensure the transmitter is not too far from the headphones, and there are no major obstructions between them.
Interference or Static
This can happen with both Bluetooth and RF.
- Reduce Obstructions: Walls, furniture, and even your own body can weaken wireless signals. Try to have a clearer path between your transmitter and headphones.
- Minimize Other Wireless Devices: Microwaves, Wi-Fi routers, and other wireless devices can sometimes cause interference. Try turning off nearby devices temporarily to see if it helps.
- Check Battery Levels: Low battery in either the headphones or transmitter can sometimes lead to signal issues.
- Proximity to Base Station (RF): If using an RF system, ensure you’re within the recommended range of the base station.
Headphones Won’t Pair
This is a common Bluetooth headache.
- Ensure Pairing Mode: Double-check that both devices are in pairing mode. The indicator lights are crucial here.
- Clear Paired Device Lists: Your headphones and TV/transmitter may have a long list of previously paired devices. Try deleting all old pairings from both and then attempt to pair them again.
- Device Limits: Some devices can only be paired with one device at a time. Make sure your headphones aren’t still connected to your phone or another device.
- Restart: A full restart of all involved devices can often clear up pairing hiccups.
- Check Transmitter/TV Compatibility: Ensure your TV/transmitter supports the Bluetooth version your headphones use. Modern headphones usually use Bluetooth 4.0 or higher.
Maintaining Your Wireless Headphones for TV

To keep your wireless headphones working their best and lasting a long time, a little regular care goes a long way.
Cleaning Your Headphones
Keep your headphones clean for hygiene and optimal performance.
- Earcups: Use a slightly damp, soft cloth to wipe down the exterior of the earcups. For fabric earpads, you can sometimes gently brush them with a soft brush or use a lint roller. If they are removable, check the manufacturer’s instructions for washing (often hand-washable with mild soap and water, then air-dried completely).
- Headband: Wipe the headband with a soft, dry or slightly damp cloth.
- Speaker Grilles: Be very careful around the speaker grilles. Use a dry, soft brush ( like a clean toothbrush or a small detail brush) to gently remove any dust or debris. **Never use liquids directly on
