
Quick Summary: Unlock immersive gaming with your Nintendo Switch using wireless headphones! This guide simplifies choosing the right Bluetooth adapter or headphones, explains essential features like low latency, and helps you find the perfect audio setup for uninterrupted, high-quality sound during your gaming sessions.
Wireless Headphones For The Switch: The Essential Beginner’s Guide

Hey everyone, Edward Cavitt here from headphonehorizon! Are you a Nintendo Switch gamer who dreams of diving deeper into your favorite worlds without the tangle of wires? Maybe you want to enjoy those epic game soundtracks or crucial in-game cues without disturbing anyone around you.
The good news is, you absolutely can! Connecting wireless headphones to your Switch is easier than you might think. This guide is designed to cut through the tech talk and show you exactly what you need to know to pick the best wireless headphones for your Switch, ensuring a smooth, lag-free, and enjoyable audio experience. Let’s get your game sound soaring!
Why Go Wireless with Your Nintendo Switch?
The Nintendo Switch is a fantastic, versatile console, perfect for gaming on the go or docked at home. While it offers wired headphone support, the freedom that wireless headphones provide is a game-changer. Imagine kicking back on your couch, or focusing intensely during a crucial boss battle, without feeling tethered to the console. Wireless audio means:
- Unrestricted Movement: Move freely, whether you’re leaning in for that critical moment or just getting comfortable. No more accidental tugs on the wire!
- Enhanced Immersion: Hear every detail of the game’s soundscape, from subtle environmental cues to dramatic musical scores, without distractions.
- Privacy and Convenience: Enjoy your games at any volume without disturbing family, friends, or roommates. Perfect for late-night gaming sessions!
- Cleaner Setup: A wireless connection reduces cable clutter, making your gaming space tidier and more visually appealing.
Understanding How to Connect Wireless Headphones to Your Switch

This is where things can seem a little tricky, but I promise it’s straightforward. The Nintendo Switch, unlike many modern devices, doesn’t have built-in Bluetooth audio support. This means you generally can’t just pair any Bluetooth headphones directly with the console itself (unless you have a very recent firmware update, which we’ll touch on briefly). Instead, you’ll need a little helper: a Bluetooth audio transmitter adapter.
Think of a Bluetooth adapter as a bridge. It plugs into your Switch’s USB-C port (or headphone jack on older models, though USB-C is more common for adapters) and then broadcasts the Switch’s audio wirelessly. Your Bluetooth headphones then connect to this adapter. Some adapters also support voice chat, which is a huge plus for multiplayer games!
Option 1: Using a Bluetooth Audio Transmitter Adapter
This is the most common and reliable method for enjoying wireless audio with your Nintendo Switch. These small devices plug into your Switch and enable Bluetooth connectivity.
What to Look for in a Bluetooth Adapter:
- Low Latency Support: This is CRUCIAL for gaming. Latency is the tiny delay between an action happening on screen and the sound reaching your ears. High latency makes it feel like your headphones are out of sync. Newer Bluetooth codecs like aptX Low Latency (aptX LL) and aptX Adaptive are your best friends here.
- USB-C Compatibility: Most modern Switch models and adapters use USB-C for power and data transfer. Ensure it’s compatible with your Switch.
- Dual Headphone Support (Optional): Some adapters allow two pairs of headphones to connect simultaneously, great for sharing the audio experience.
- Microphone Support: If you play multiplayer games and need to communicate with teammates, look for an adapter with a built-in microphone or a separate microphone input.
- Battery Life (for standalone adapters): Some adapters draw power directly from the Switch, while others have their own battery. Consider what’s more convenient for you.
Popular Adapter Examples (Illustrative):
While I can’t recommend specific brands as models change rapidly, searching for terms like “Nintendo Switch Bluetooth adapter aptX LL” on major online retailers will yield many options. Look for those with consistently good reviews focusing on low latency and ease of use.
Option 2: Using a USB-C to 3.5mm Headphone Jack Adapter with a Wired Headset
This isn’t truly wireless, but it offers some flexibility. If your preferred headphones have a 3.5mm audio jack and you want to place your Switch further away, you could use a USB-C extension cable or a simple USB-C to 3.5mm adapter.
Option 3: Newer Switch Firmware & Native Bluetooth
Nintendo has been updating the Switch, and recent firmware versions do support Bluetooth audio devices directly. However, there’s a significant catch: voice chat is NOT supported through this native Bluetooth connection. This means that while you can listen to game audio wirelessly, you won’t be able to talk to your friends in games like Fortnite or Splatoon 3. Many gamers find this a dealbreaker, which is why Bluetooth adapters that support both audio and voice chat are still highly recommended.
To check if your Switch supports native Bluetooth audio:
- Go to System Settings on your Switch.
- Scroll down to “Audio.”
- Look for “Bluetooth Audio” or similar options.
If you see it, you can attempt to pair your headphones here. But remember the voice chat limitation!
Choosing the Right Wireless Headphones (for Gaming)

Not all wireless headphones are created equal, especially when it comes to gaming. Here’s what you need to prioritize:
Key Features for Gaming Headphones:
- Low Latency: As mentioned with adapters, this is paramount. Look for headphones that support low-latency Bluetooth codecs like aptX Low Latency (aptX LL) or aptX Adaptive. If your headphones don’t support these, and you’re not using a low-latency adapter, you might experience noticeable audio delay.
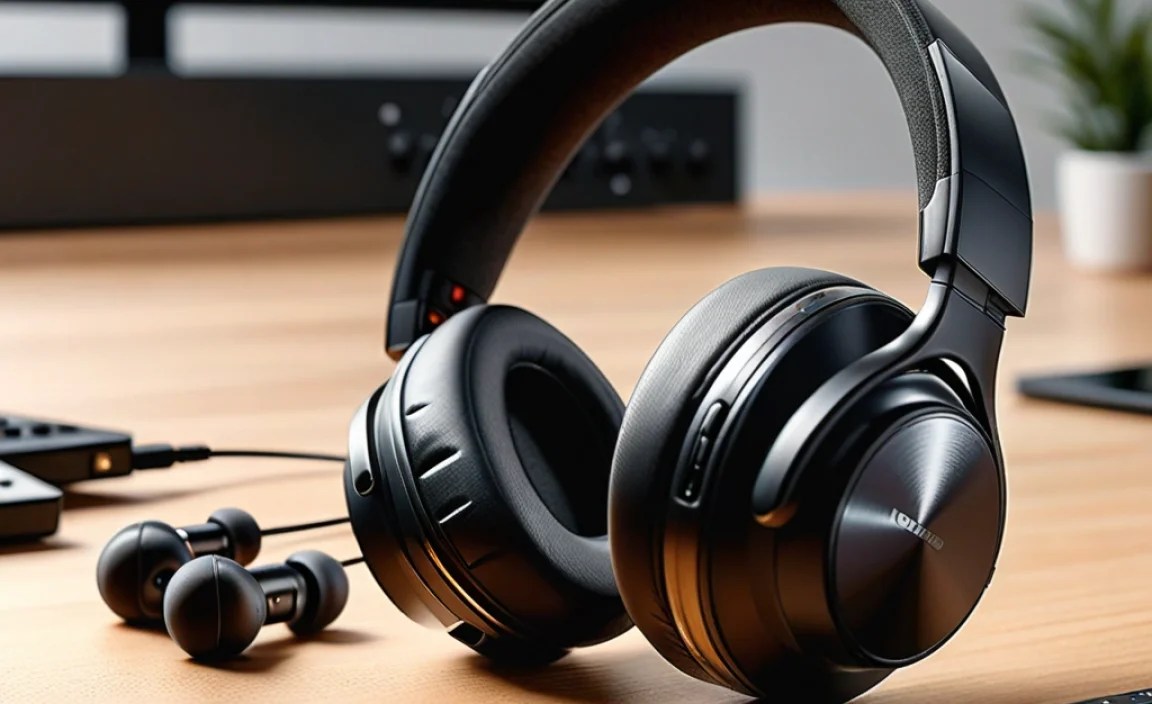
- Comfort: You’ll be wearing these for extended gaming sessions. Over-ear designs are generally preferred for comfort and sound isolation. Ensure the earcups are plush and the headband is adjustable.
- Sound Quality: While gaming headphones don’t need to be audiophile-grade, good sound reproduction is essential for immersion. Look for balanced audio that highlights both immersive environments and important sound cues (like footsteps or enemy attacks).
- Microphone Quality: If voice chat is important, a clear, adjustable microphone is a must. Some gaming headsets have boom mics, while others use integrated mics.
- Battery Life: Aim for headphones with at least 20-30 hours of battery life on a single charge. Many also support playing while charging.
- Durability: Gaming gear can take a beating. Look for sturdy construction, flexible headbands, and robust earcups.
Types of Wireless Headphones for Your Switch Setup:
- Dedicated Gaming Headsets: These are built specifically for gaming, often featuring boom microphones and immersive surround sound technologies. When paired with a low-latency adapter, they offer a top-tier experience.
- Multi-Purpose Wireless Headphones: Many high-quality consumer wireless headphones (like those from Sony, Bose, or Sennheiser) can work well. The key is to ensure they support a low-latency codec, either natively or through your chosen adapter.
- True Wireless Earbuds: While convenient for on-the-go listening, many true wireless earbuds have higher latency, making them less ideal for action-packed gaming. Some newer models are improving, but always check reviews for latency performance.
Understanding Bluetooth Codecs: The Key to Lag-Free Audio

Bluetooth codecs are essentially the languages that devices use to send audio wirelessly. Different codecs offer different qualities in terms of sound fidelity, speed (latency), and efficiency.
Here’s a quick rundown of common codecs and why they matter for your Switch:
| Codec | Latency | Sound Quality | Compatibility Notes |
|---|---|---|---|
| SBC (Subband Codec) | Medium to High | Basic | Universally supported by most Bluetooth devices as a fallback. Often the default. |
| AAC (Advanced Audio Coding) | Medium | Good (especially on Apple devices) | Commonly used by Apple devices. Generally better than SBC. |
| aptX | Medium | Good | Requires support on both the transmitter (adapter) and receiver (headphones). More common on Android devices and PC. |
| aptX HD | Medium | Very Good | Higher fidelity than aptX, but still carries noticeable latency for fast-paced gaming. |
| aptX Low Latency (aptX LL) | Very Low | Good | Ideal for gaming! Designed specifically to minimize delay. Requires aptX LL support on both the adapter and headphones. |
| aptX Adaptive | Very Low to Medium (dynamic) | Very Good | A more advanced codec that dynamically adjusts based on connection quality. Excellent for gaming and general listening. |
The takeaway? For the best wireless gaming experience on your Switch, aim for an adapter and headphones that support aptX Low Latency or aptX Adaptive. If those aren’t options, ensure both your adapter and headphones support the same codec (like aptX or AAC) to get the best performance possible beyond the basic SBC.
Step-by-Step Guide: Setting Up Your Wireless Audio
Let’s get this done! This guide assumes you’re using a Bluetooth adapter. If your Switch has native Bluetooth audio support and you’re okay with no voice chat, the process is similar but you’d be pairing directly with the Switch’s menu.
Step 1: Charge Everything Up!
Before you begin, make sure your Nintendo Switch, your Bluetooth adapter (if it has its own battery), and your wireless headphones are fully charged. Nothing kills the gaming vibe faster than a dead battery!
Step 2: Connect the Bluetooth Adapter to Your Switch
- Locate the USB-C port on your Nintendo Switch. It’s the port on the bottom edge of the console.
- Gently plug your Bluetooth audio transmitter adapter into this USB-C port.
- Some adapters may require a brief press of a button to power on or enter pairing mode. Check your adapter’s manual.
Step 3: Put Your Wireless Headphones into Pairing Mode
This process varies by headphone manufacturer, but generally involves:
- Turning on your headphones.
- Pressing and holding a specific button (often the power button or a dedicated Bluetooth button) until an indicator light flashes rapidly or you hear an audio prompt indicating “pairing mode.”
- Refer to your headphone’s user manual if you’re unsure.
Step 4: Pair the Adapter and Headphones
Most Bluetooth adapters for Switch are designed to automatically pair with the first device that enters pairing mode after they are activated. Here’s how it usually works:
- With your adapter plugged into the Switch and your headphones in pairing mode, place them close to each other.
- The adapter should automatically detect and connect to your headphones.
- You’ll often hear a confirmation sound or see a steady light on the adapter and/or headphones indicating a successful connection.
- If your adapter has a pairing button, you might need to press it to initiate the pairing process if it doesn’t happen automatically.
- Troubleshooting tip: If they don’t connect, try turning both the adapter and headphones off and on again, ensuring they are both in pairing mode, and placing them very close together.
Step 5: Ensure Audio Output is Set Correctly (If Necessary)
In most cases, once the adapter is plugged in and paired, the Switch will automatically route audio through it. However, if you don’t hear anything:
- Go to your Nintendo Switch’s System Settings.
- Navigate to “Audio.”
- Check the “Output Device” settings. It should ideally show your connected USB device or Bluetooth adapter. You may need to select it.
Step 6: Test Your Audio!
Launch a game or an app that plays sound. Increase the volume using the controls on your headphones. You should now be enjoying wireless audio! Pay attention to any noticeable delay between on-screen actions and their corresponding sounds.
Step 7: Setting Up Voice Chat (If Your Adapter Supports It)
This part is crucial for multiplayer games and depends heavily on your adapter.
- Adapters with Built-in Mics: Some adapters have a small, integrated microphone. It should automatically transmit your voice. Ensure it’s not covered.
- Adapters with Mic Ports: Many adapters have a separate port for a small microphone.
- Plug the included microphone into this port on the adapter.
- The microphone is usually attached to the cable that comes from your headphones or is a separate small clip-on mic.
- Position the microphone near your mouth.
- In-Game Settings: Once your microphone is connected, you’ll usually need to ensure voice chat is enabled within the specific game’s settings. Some games might also let you select your audio input device.
A Note on Native Switch Bluetooth and Voice Chat: As mentioned, the Switch’s built-in Bluetooth audio does not support voice chat. For games requiring communication, you’ll need a dedicated adapter solution.
Troubleshooting Common Issues
Even with the best gear, sometimes things don’t connect perfectly. Here are a few common hiccups and how to solve them:
- No Sound:
- Double-check that both the adapter and headphones are powered on and successfully paired (look for solid indicator lights).
- Ensure your Switch’s volume is turned up.
- Verify the audio output setting on the Switch is correct (as per Step 5).
- Try unpairing and re-pairing both devices.
- Test your headphones with another Bluetooth device (like your phone) to confirm they work.
- Audio Lag/Delay:
- This is the biggest concern for gamers. If you experience significant lag, ensure your adapter and headphones support aptX Low Latency or aptX Adaptive.
- If both devices support aptX LL but you still have lag, try unplugging and replugging the adapter.
- Some Bluetooth adapters have a “game mode” or “turbo mode” that prioritizes low latency. Check your adapter’s settings.
- Consider if the game itself has audio processing delays. Sometimes, the game’s engine can introduce a slight delay independent of the Bluetooth connection.
- If using native Switch Bluetooth, lag is much more common as it doesn’t prioritize low-latency codecs as strictly.
- Mic Not Working:
- Confirm your adapter supports microphone input and that you’ve connected the microphone correctly (either built-in or via port).
- Ensure you’ve enabled voice chat within the game’s settings.
- Test the microphone using a different application or game if possible.
- Connection Drops:
- Ensure your adapter and headphones are reasonably close to each other, ideally with line-of-sight.
- Check for potential interference from other wireless devices (microwaves, other Bluetooth devices, Wi-Fi routers).
- Ensure both devices have sufficient battery charge.
For more in-depth troubleshooting, refer to the manufacturer’s support pages for your specific Bluetooth adapter and headphones. Resources like Nintendo’s official support site can also offer general advice on console audio settings: Nintendo Support.
Frequently Asked Questions (FAQ)
Q1: Do I need a special adapter to use Bluetooth headphones with my Switch?
Yes, generally you do. The Nintendo Switch does not have built-in Bluetooth audio output. You’ll need a Bluetooth audio transmitter adapter that plugs into the Switch’s USB-C port to enable wireless audio for most headphones.
Q2: Can I use my existing wireless headphones with the Switch?
It depends! If your headphones are Bluetooth enabled, they can work with the Switch if you use a compatible Bluetooth transmitter adapter. However, be mindful of latency. For the best gaming experience, look for headphones and an adapter that support low-latency codecs like aptX LL or aptX Adaptive.
