
Quick Summary: A wireless transmitter for headphones lets you enjoy audio from devices without Bluetooth by sending sound wirelessly. This guide explains what they are, how they work, key features to consider, and provides a step-by-step setup process, making it easy for beginners to achieve a wire-free listening experience.
Wireless Transmitter for Headphones: Your Essential Beginner’s Guide
Thinking about cutting the cord on your headphones but your favorite device doesn’t have Bluetooth? Don’t worry, a wireless transmitter for headphones is your new best friend. These handy gadgets bridge the gap, allowing you to stream audio from your TV, computer, or even older stereo systems to your wireless headphones or earbuds. It’s like magic for your ears, transforming your listening experience without the hassle of tangled wires. Whether you’re trying to enjoy late-night TV without disturbing anyone or simply want more freedom to move around, understanding these transmitters is the first step to truly wireless audio bliss. Let’s dive in and make your audio dreams a reality!
What Exactly is a Wireless Transmitter for Headphones?

At its heart, a wireless transmitter for headphones is a device that takes an audio signal from a source (like your TV or computer) and converts it into a wireless signal that can be picked up by your Bluetooth-enabled headphones or earbuds. Think of it as a translator for sound. Most modern devices have Bluetooth built-in, but many still rely on standard audio jacks (like the 3.5mm headphone jack) or RCA ports. The transmitter acts as an intermediary, allowing these older or non-Bluetooth devices to communicate wirelessly with your modern, wire-free listening gear.
These transmitters typically connect to your audio source using a physical cable—usually a 3.5mm audio cable (the most common kind) or RCA cables (often red and white plugs). Once connected, it broadcasts the audio signal using Bluetooth technology, creating a direct link to your headphones.
How Do Wireless Transmitters for Headphones Work?
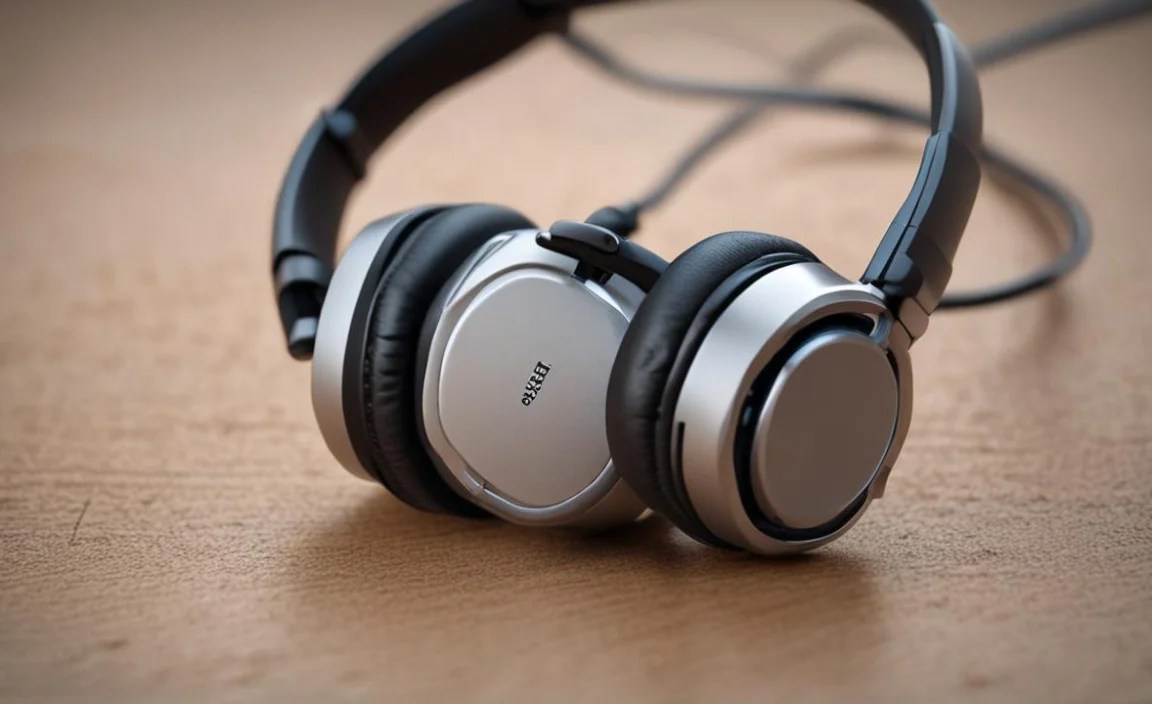
The magic behind a wireless transmitter for headphones lies in Bluetooth technology. Here’s a simplified breakdown of the process:
- Audio Input: The transmitter receives the audio signal from your source device through a wired connection (e.g., 3.5mm jack, RCA).
- Signal Conversion: It digitizes this analog audio signal.
- Bluetooth Encoding: The digital audio data is then encoded into a Bluetooth signal. This involves specific protocols and codecs that manage the data transmission efficiently.
- Wireless Transmission: The transmitter broadcasts this Bluetooth signal.
- Receiving Signal: Your Bluetooth headphones or earbuds detect this signal.
- Decoding and Playback: The headphones decode the Bluetooth signal back into an audible sound and play it through their speakers.
The quality of the audio you experience depends heavily on the Bluetooth version and the audio codecs supported by both the transmitter and your headphones. Newer Bluetooth versions and advanced codecs like aptX, aptX HD, and LDAC can offer higher fidelity sound and lower latency (delay), which is crucial for watching videos or playing games.
Key Features to Look For in a Wireless Transmitter

When shopping for a wireless transmitter for headphones, several features can enhance your experience. Understanding these will help you make a choice that best suits your needs:
1. Bluetooth Version
Higher Bluetooth versions generally mean better performance. Bluetooth 5.0 and later offer:
- Improved range: Less likely to drop connection.
- Faster speeds: More stable connection and lower latency.
- Better power efficiency: Can be less of a drain on battery for both the transmitter and receiver.
- Enhanced Multi-point support: Ability to connect to multiple devices simultaneously.
Look for transmitters supporting at least Bluetooth 4.2, but aim for Bluetooth 5.0 or higher for the best results.
2. Supported Audio Codecs
Codecs are like languages for audio data. Different codecs offer varying levels of sound quality and efficiency. Common ones include:
- SBC (Subband Coding): The most basic and universally supported codec. It’s reliable but offers the lowest audio quality.
- AAC (Advanced Audio Coding): Used widely by Apple devices, it offers better quality than SBC and is efficient.
- aptX: Developed by Qualcomm, aptX offers near CD-quality sound with lower latency than SBC and AAC.
- aptX HD: An upgrade to aptX, providing even higher resolution audio (24-bit) and better noise suppression.
- LDAC: Developed by Sony, LDAC can transmit up to 990 kbps, supporting Hi-Res Audio. It offers the best audio quality but requires compatible headphones.
Important Note: For the benefits of advanced codecs (like aptX or LDAC) to be realized, both your transmitter and your headphones must support the same codec.
3. Latency
Latency is the delay between the audio signal being sent and it being heard. High latency can cause a noticeable lag, especially when watching videos or playing games, where your audio will be out of sync with the visuals. Some transmitters offer specific low-latency modes, often referred to as ‘aptX Low Latency’ (aptX LL). This is crucial for multimedia use. To benefit from aptX LL, your headphones must also support it.
4. Connection Options
Consider how you’ll connect the transmitter to your audio source. Common connection types include:
- 3.5mm Aux input: The most common, found on most modern TVs, computers, and audio devices.
- RCA input: Often found on older TVs and stereo systems (usually marked red and white).
- Optical (Toslink/SPDIF) input: Offers high-quality digital audio transmission, common on newer TVs and soundbars.
Some transmitters offer multiple input options, giving you more flexibility.
5. Power Source
Most transmitters are powered via USB. This is convenient if your TV or audio source has a USB port you can use. Others come with their own AC adapter. Some high-end models might have an internal rechargeable battery, offering portability, but this is less common for fixed installations like a TV.
6. Multi-Point Pairing
This feature allows the transmitter to connect to two pairs of headphones simultaneously. It’s great if you and a partner want to watch a movie or listen to music from the same source without disturbing others. Again, for the best experience with multi-point, especially for audio quality and low latency, ensure your headphones are compatible.
7. Transmitter vs. Receiver vs. Transceiver
It’s important to distinguish between three types of Bluetooth adapters:
- Transmitter: Sends audio wirelessly from a non-Bluetooth device to Bluetooth headphones/speakers. This is what we’re focusing on.
- Receiver: Receives a Bluetooth audio signal and outputs it wired to non-Bluetooth speakers or headphones.
- Transceiver (or Transmitter/Receiver): Can do both. It can transmit audio from your TV and also receive audio from your phone to play through wired speakers.
Ensure you are purchasing a transmitter or a transceiver if you need to send audio wirelessly from your source device.
Choosing the Right Transmitter: A Comparison Table

To help you visualize, here’s a simplified comparison of common transmitter types based on features:
| Feature | Basic Transmitter (SBC) | Mid-Range Transmitter (aptX) | Premium Transmitter (aptX HD/LDAC/LL) |
|---|---|---|---|
| Bluetooth Version | 4.0 – 4.2 | 4.2 – 5.0 | 5.0 and above |
| Supported Codecs | SBC | SBC, AAC, aptX | SBC, AAC, aptX, aptX HD, aptX LL, LDAC (varies) |
| Best For | Basic audio, podcasts, calls | Music listening, general use | Movies, gaming, high-fidelity audio |
| Latency | Moderate to High | Low to Moderate | Very Low (with aptX LL) |
| Price | Low | Medium | High |
How to Set Up Your Wireless Transmitter for Headphones: A Step-by-Step Guide

Setting up a wireless transmitter is generally straightforward. Here’s a common process that should work for most devices:
Step 1: Gather Your Equipment
Before you begin, make sure you have everything you need:
- Your wireless transmitter for headphones.
- A pair of Bluetooth-enabled headphones or earbuds.
- The correct audio cable(s) to connect the transmitter to your audio source (often included with the transmitter).
- A power source for the transmitter (usually a USB cable and port, or an AC adapter).
- Your audio source device (e.g., TV, computer, stereo).
Step 2: Power On Your Transmitter
Connect the transmitter to its power source. If it uses USB, plug it into a USB port on your TV, computer, or a USB wall adapter. If it has an AC adapter, plug that in. Most transmitters will have an indicator light to show they are powered on and ready.
Step 3: Connect the Transmitter to Your Audio Source
This is where you physically link the transmitter to where the sound is coming from.
For 3.5mm Aux Output:
- Locate the headphone jack (usually marked with a headphone icon) on your TV, computer, or audio device.
- Connect one end of the 3.5mm audio cable to this jack.
- Connect the other end of the cable to the 3.5mm audio input port on your wireless transmitter.
For RCA Output (Red and White Jacks):
- You’ll typically use an RCA to 3.5mm cable or an RCA to RCA cable, depending on the transmitter’s input.
- Connect the red and white plugs to the corresponding red and white audio output jacks on your source device.
- Connect the other end of the cable to the transmitter’s input.
For Optical (SPDIF/Toslink) Output:
- Locate the optical audio output port on your source device (it often has a protective flap).
- Carefully remove any protective caps from the optical cable ends and the port itself.
- Connect the optical cable to the source device.
- Connect the other end to the optical input port on your transmitter. Make sure the transmitter supports optical input before purchasing.
Crucial Tip: Ensure your source device’s audio output is set to the correct format corresponding to the cable you’re using (e.g., don’t try to output to optical if you’re using a 3.5mm cable).
Step 4: Select the Correct Audio Output on Your Source Device
This is a critical step where many people get stuck. You need to tell your TV, computer, or other device to send the sound to the transmitter, not its built-in speakers or other outputs.
- For TVs: Go to your TV’s audio settings menu. Look for options like “Audio Output,” “Sound Output,” or “Speakers.” Select the option that matches your connection: “Headphone Out,” “External Speakers,” “Optical,” or “Line Out.” You might also need to turn off the TV’s internal speakers if they don’t disable automatically. Refer to your TV’s manual for specific instructions, as menus vary by brand.
- For Computers: Depending on your operating system (Windows or macOS), go to Sound Settings. Select your wired output (which is now connected to the transmitter via the port you used) as the default playback device.
- For Other Devices: Consult the device’s manual. Look for audio or output settings.
Some transmitters have a “pass-through” feature for optical or other connections. This means if you have multiple devices connected to your TV (like a soundbar via optical AND the transmitter via optical), you can switch between them without unplugging cables. Check your transmitter’s manual for this capability.
Step 5: Pair Your Bluetooth Headphones/Earbuds
Now, you need to connect your wireless headphones to the transmitter.
- Put your Bluetooth headphones into pairing mode. This is usually done by pressing and holding a power or Bluetooth button until an indicator light flashes (often blue and red, or alternating colours). Check your headphone manual for exact instructions.
- Put your wireless transmitter into pairing mode. This is also typically done by pressing and holding a button until its indicator light flashes in a specific way. Usually, the transmitter will automatically start searching for nearby devices when powered on, especially if it’s the first time it’s being used.
- Place the headphones and transmitter close to each other (within a few feet).
- Wait for them to find each other. The indicator lights on both the transmitter and headphones should change (e.g., stop flashing, turn solid blue) to indicate a successful connection.
Pro Tip: If you’re using a transmitter with aptX Low Latency, ensure your headphones also support aptX LL. If they don’t, pairing might still occur, but you’ll likely fall back to a less efficient codec like SBC, resulting in noticeable lag.
Step 6: Test the Audio
Once paired, play some audio on your source device. You should now hear the sound through your wireless headphones. If you don’t hear anything:
- Check that all cables are securely connected.
- Verify that the correct audio output is selected on your source device.
- Make sure your headphones are charged and within range.
- Try unpairing and re-pairing the headphones and transmitter.
- Ensure your headphones are not connected to another device (like a phone).
Troubleshooting Common Issues
Even with the best gear
