
Quick Summary: Enhance your TV experience with a wireless transmitter for headphones. This guide simplifies choosing and setting up the right device, helping you enjoy private, clear audio without disturbing others. Learn about connection types, features, and troubleshooting for a seamless wireless listening journey.
Wireless Transmitter for TV Headphones: Your Essential Guide to Hassle-Free Listening
Ever found yourself wishing you could crank up the volume on your favorite TV show or movie without waking up the rest of the house? Or perhaps you’re tired of tripping over headphone cords while enjoying your evening entertainment? You’re not alone! For many of us, our televisions are a gateway to immersive stories, thrilling adventures, and relaxing escapes. But often, the built-in speakers can be less than ideal, and wired headphones can feel restrictive. That’s where a wireless transmitter for TV headphones comes in, offering a fantastic solution to enjoy pristine audio privately and comfortably. As Edward Cavitt from headphonehorizon, I’m here to demystify this technology and guide you through selecting and using the perfect wireless setup for your TV, ensuring every viewing session is a pleasure.
Why You Need a Wireless Transmitter for Your TV Headphones

Let’s face it, modern living often means shared spaces. Whether it’s a sleeping partner, children doing homework, or just a desire for personal audio immersion, being able to adjust your TV’s volume independently is a game-changer. This is precisely what a wireless transmitter, paired with compatible wireless headphones, allows you to do. It broadcasts the audio signal from your TV wirelessly, so you can move around freely while enjoying crystal-clear sound. No more awkward cable management or being tethered to the TV stand!
Think about it: late-night movie marathons without disturbing your family? Understanding every whisper and explosion in a dramatic series even at low volumes? Enjoying the nuanced sound of a documentary without background noise interference? A wireless transmitter makes all of this possible. It’s a simple upgrade that significantly enhances your home entertainment experience, offering both convenience and superior audio quality.
Understanding the Basics: How Wireless TV Transmitters Work
At its core, a wireless transmitter for TV headphones acts as a bridge. It takes the audio output from your television and converts it into a wireless signal that your headphones can receive. This signal is then picked up by your wireless headphones, allowing you to listen without any cables connecting them to the TV.
The most common technologies used for this wireless transmission are:
- Bluetooth: This is the most prevalent wireless technology today. Bluetooth transmitters use short-range radio waves to pair with your headphones. Modern Bluetooth transmitters often support advanced codecs like aptX™ Low Latency, which drastically reduces audio delay, making it ideal for watching videos.
- Radio Frequency (RF): Older or more specialized systems might use RF. These transmitters typically broadcast a signal over a wider range, and the headphones have a base station that receives this signal. RF can sometimes offer a more robust connection with less interference but might have a more limited selection of compatible headphones.
- Infrared (IR): Less common for modern TV setups, IR transmitters require a direct line of sight between the transmitter and the headphones. They are generally more susceptible to interference.
Types of Wireless Transmitters for TV Headphones

When you start looking for a wireless transmitter, you’ll notice a few different types. Understanding these will help you pick the one that best suits your TV and listening habits.
1. Standalone Bluetooth Transmitters
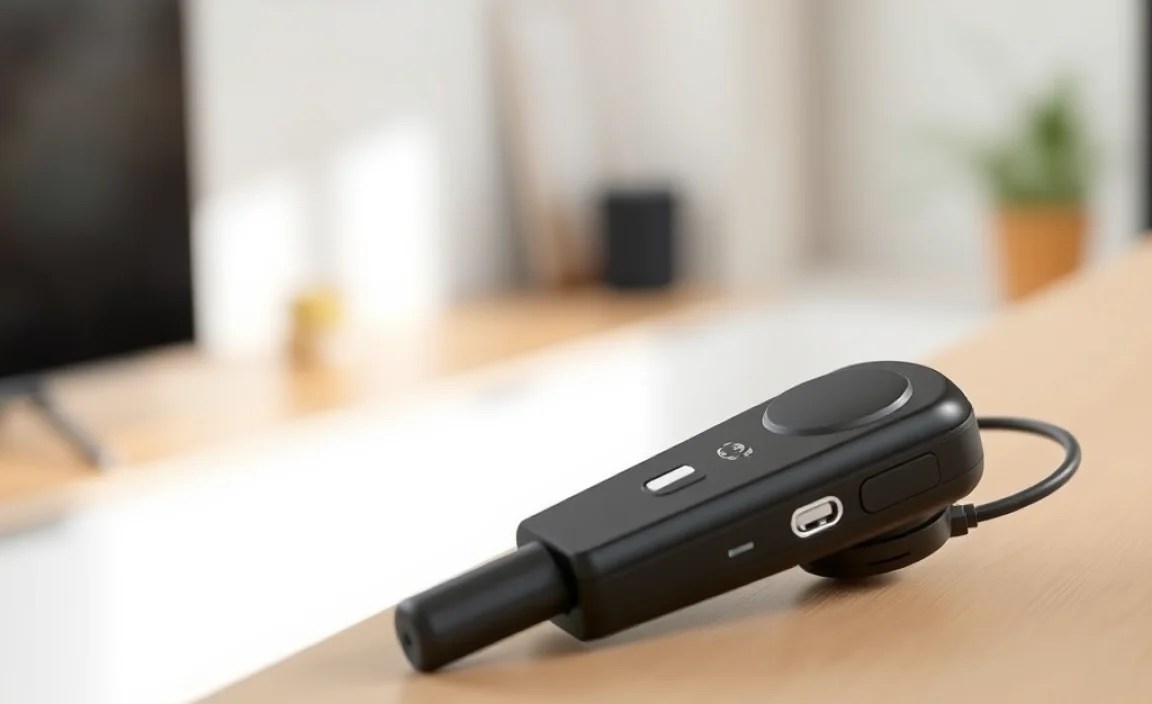
These are the most common and versatile options. They are small devices that you connect to your TV’s audio output port and then pair with your Bluetooth headphones. They are often powered via USB and can be easily moved between different TVs or used with other audio sources like gaming consoles or computers.
2. RCA-to-Bluetooth Adapters
Some older TVs might only have RCA audio outputs (the red and white jacks). These transmitters are specifically designed to convert the RCA signal into a Bluetooth transmission. They are a great way to add wireless capabilities to older entertainment systems.
3. Optical Audio (Toslink) to Bluetooth Transmitters
For modern TVs with superior audio quality, an optical digital audio output (often called Toslink or S/PDIF) is common. These transmitters take that high-fidelity digital signal and convert it into Bluetooth for wireless transmission. They are excellent for preserving audio quality.
4. 3.5mm (Aux) to Bluetooth Transmitters
Similar to standalone transmitters, these use the standard 3.5mm headphone jack output found on many TVs, stereos, and computers. They are incredibly easy to use and widely compatible.
5. “All-in-One” Wireless Headphone Systems
These are less common as pure transmitters and more as complete systems. They usually include a dedicated base station that connects to your TV and a pair of specific headphones designed to work with that base. While convenient, they may limit your headphone choice. Many modern wireless headphones with a transmitter base offer plug-and-play simplicity without requiring Bluetooth pairing.
Key Features to Look For
Not all wireless transmitters are created equal. Here are some essential features to consider to ensure you make the best choice for your needs:
- Audio Codec Support: This is crucial for sound quality and latency.
- aptX™ Low Latency (aptX LL): Essential for watching TV or movies. It significantly reduces audio delay, ensuring speech and lip movements are synchronized. You’ll need headphones that also support aptX LL for this benefit.
- aptX™ HD: Offers higher fidelity audio, closer to CD quality, for music lovers.
- SBC (Subband Codec): The standard Bluetooth audio codec. It’s widely compatible but offers the lowest sound quality and is more prone to latency.
- AAC (Advanced Audio Coding): Used predominantly by Apple devices, it offers better quality than SBC.
- Connectivity Ports: Ensure the transmitter has the right audio input ports to match your TV’s outputs (3.5mm Aux, RCA, or Optical).
- Dual Link/Pairing: Some transmitters can connect to two pairs of headphones simultaneously, perfect for couples or friends watching together.
- Battery Life/Power Source: Most are USB-powered, meaning they draw power from your TV or a USB adapter. Some portable models have internal batteries for on-the-go use.
- Range: Check the advertised range. For a typical living room, 30-50 feet (10-15 meters) should be sufficient, but some can go further.
- Ease of Use: Look for simple pairing processes and clear indicator lights.
- Bypass Mode: A great feature that allows you to switch the transmitter on and off easily, reverting to your TV’s regular speakers or wired headphone output without disconnecting the transmitter hardware.
Connecting Your Wireless Transmitter: A Step-by-Step Guide
Setting up your wireless transmitter is usually straightforward. Here’s a general step-by-step process:
Step 1: Identify Your TV’s Audio Output Ports
Before you buy, take a look at the back or side of your TV. Common audio outputs include:
- 3.5mm Headphone Jack (Aux): Looks like a standard headphone port.
- RCA Audio Out (L/R): Two circular jacks, usually red and white.
- Optical Audio Out (Toslink/S/PDIF): A small port with a protective flap, often square or D-shaped.
Refer to your TV’s manual if you’re unsure.
Step 2: Choose the Right Transmitter for Your TV
Based on your TV’s ports, select a transmitter that offers a compatible input. For example, if your TV has an optical output, choose an Optical to Bluetooth transmitter.
Step 3: Connect the Transmitter to Your TV
Use the appropriate audio cable (usually included with the transmitter) to connect the transmitter’s input port to your TV’s chosen audio output port.
- For 3.5mm: Plug one end of the 3.5mm cable into your TV’s headphone jack and the other into the transmitter’s 3.5mm input.
- For RCA: Connect the red and white RCA cables from your TV’s RCA output to the transmitter’s RCA input.
- For Optical: Gently plug the optical cable into your TV’s optical out port and the transmitter’s optical in port. Ensure the protective cap is removed from the optical cable end.
Step 4: Power Up the Transmitter
Most transmitters require power. This is usually done via a USB cable:
- Connect the USB cable to the transmitter.
- Plug the other end into a powered USB port on your TV, a USB power adapter, or a power bank.
Some transmitters may have their own AC power adapter.
Step 5: Put Your Transmitter in Pairing Mode
Consult your transmitter’s manual. Typically, you’ll need to press and hold a button until an indicator light starts flashing, signaling it’s ready to pair.
Step 6: Put Your Headphones in Pairing Mode
Ensure your wireless headphones are charged and turned on. Then, put them into their pairing mode. This is usually done by pressing and holding the power button or a dedicated Bluetooth button until a light flashes or you hear an audio cue. Refer to your headphone manual for specific instructions.
Step 7: Pair the Transmitter and Headphones
Bring the headphones close to the transmitter. They should automatically detect each other and pair. You’ll usually see a solid indicator light on the transmitter and hear a confirmation sound on your headphones once they are successfully connected.
Important Note: If your transmitter supports aptX Low Latency and you want to use it, ensure both the transmitter and your headphones support this codec. This often requires both devices to be put into a specific pairing mode.
Step 8: Adjust TV Audio Settings (If Necessary)
Sometimes, you might need to adjust your TV’s audio output settings to ensure it’s sending sound to the port you’ve chosen. For example:
- Go to your TV’s Settings menu.
- Navigate to Sound or Audio settings.
- Select the appropriate audio output (e.g., “External Speaker,” “Headphone,” “Optical Out,” “Digital Audio Out”).
- If you are using an optical or RCA output, you may need to set the digital audio format to “PCM” or “Auto,” depending on your TV and transmitter compatibility.
Tip: If you are using the optical or coaxial digital output, you may need to disable your TV’s internal speakers in the audio settings to route the sound to the transmitter correctly. This is a common step for many smart TVs.
Step 9: Test the Audio
Play some content on your TV. You should now hear the sound through your wireless headphones. Adjust the volume using your headphones’ controls if available, or via your headphones’ companion app.
Using Bypass Mode for Seamless Switching
Many modern transmitters offer a “bypass mode” or a similar functionality. This is incredibly useful because it allows you to switch between using your wireless headphones and your TV’s built-in speakers (or wired headphones) without having to physically disconnect and reconnect cables. Look for a switch or button on the transmitter that toggles between transmission and bypass. This is particularly handy if multiple people in the household have different listening preferences.
Troubleshooting Common Issues
Even with the best technology, things can occasionally go awry. Here are a few common problems and how to fix them:
| Problem | Possible Cause | Solution |
|---|---|---|
| No Sound in Headphones | Incorrect audio output selected on TV. | Check TV settings and ensure the correct audio output (Aux, Optical, RCA) is selected. Ensure internal speakers are off if using digital out. |
| No Sound in Headphones | Transmitter or headphones not powered on or charged. | Verify power source for the transmitter and check headphone battery levels. |
| No Sound in Headphones | Transmitter and headphones not paired. | Put both devices back into pairing mode and try pairing again. Ensure they are close to each other. |
| Audio Lag/Lip Sync Issues | Unsupported audio codec or interference. | Ensure both transmitter and headphones support aptX Low Latency. Move potential sources of interference (microwaves, Wi-Fi routers) further away. Restart both devices. |
| Audio Lag/Lip Sync Issues | Using standard SBC codec. | Check if your transmitter and headphones support better codecs like aptX or AAC and select them if possible. |
| Intermittent Audio Cutting Out | Weak wireless signal or interference. | Move the headphones closer to the transmitter. Minimize other wireless devices operating nearby if possible. |
| Only One Headphone Working | Headphone issue. | Test the headphones with another device. If the problem persists, the headphones may need repair or replacement. |
| Can’t Connect Two Pairs of Headphones | Transmitter does not support dual-link. | Check transmitter specifications. If it doesn’t support dual-link, you can only connect one pair at a time. |
Choosing the Right Transmitter: A Quick Comparison
Here’s a simplified look at some common scenarios and ideal transmitter types:
| Your TV’s Audio Output | Recommended Transmitter Type | Key Benefit |
|---|---|---|
| 3.5mm Headphone Jack | 3.5mm Aux to Bluetooth Transmitter | Easiest to connect, widely compatible. |
| RCA Audio Out (Red/White) | RCA to Bluetooth Transmitter | Good for slightly older TVs. |
| Optical Audio Out (Toslink) | Optical (Toslink) to Bluetooth Transmitter | Best audio quality, low latency options available. |
| No Clear Audio Out ( HDMI ARC / eARC) | HDMI ARC/eARC Audio Extractor to Bluetooth Transmitter | Extracts audio directly from HDMI, maintaining quality. Requires a device that can tap into the HDMI audio stream. |
| Using Multiple TVs | Portable Bluetooth Transmitter (USB Powered) | Versatile, can be moved easily. |
Note: For HDMI ARC/eARC, you’ll typically need an HDMI ARC audio extractor that converts the HDMI audio signal into an analog or digital signal (like optical or coax) which then feeds into a Bluetooth transmitter. This is a more complex setup but provides high quality.
Maintaining and Caring for Your Transmitter
Wireless transmitters are generally low-maintenance devices. However, a few simple practices can ensure their longevity:
- Keep it Clean: Dust and debris can accumulate. Gently wipe the device with a dry, soft cloth. Avoid using liquids or harsh cleaning agents.
- Avoid Extreme Temperatures: Like most electronics, transmitters perform best at room temperature.
- Handle Cables Gently: Don’t yank or bend cables sharply, as this can damage the connectors and internal wiring.
- Proper Storage: If you need to store the transmitter for an extended period, keep it in a cool, dry place, ideally in its original packaging or a protective pouch.
- Firmware Updates (if applicable): Some higher-end transmitters may offer firmware updates. Check the manufacturer’s website periodically for any available updates that could improve performance or fix bugs.
The Impact of Audio Codecs on Your Listening Experience
When we talk about audio codecs, it might sound technical, but it’s essentially the language that Bluetooth uses to transmit sound. Different codecs have different abilities, impacting how quickly and how well the sound travels.
For watching TV, the biggest enemy is delay, also known as latency. This is when the sound from your TV doesn’t quite match what you’re seeing on the screen, which can break the immersion.
- SBC (Subband Codec): This is the basic codec used by nearly all Bluetooth devices. It’s universally compatible but can have noticeable latency and is the most basic in terms of sound quality.
- aptX™ Low Latency (aptX LL): This is a game-changer for TV watching because it’s specifically designed to reduce latency to around 32 milliseconds (ms). Standard Bluetooth latency can be 100-200ms or more. For aptX LL to work, both your transmitter and your headphones must support it. This is why it’s often recommended to buy a transmitter and headphone pair that explicitly state aptX LL support, or buy them from the same reputable brand known for integrating these technologies. You can learn more about
