
Have you ever wondered why your in-ear headphones don’t sound as good as they used to? It’s puzzling, isn’t it? Many people forget about headphone maintenance. They use them daily without a second thought. Over time, dirt and dust can build up and ruin the sound quality.
Imagine you’re listening to your favorite song, and it suddenly sounds muffled. Frustrating, right? The good news is that taking care of your in-ear headphones is simple. A little maintenance can make a big difference!
In fact, did you know that regular cleaning can extend the life of your headphones? This means you can keep enjoying crisp and clear sound for much longer. In this article, we will explore easy ways to maintain your in-ear headphones. You’ll learn tips and tricks that anyone can do at home.
So, are you ready to give your earbuds the care they need? Let’s dive into the world of headphone maintenance! Your music deserves it!
Essential Headphone Maintenance For In-Ear Headphones

Keeping in-ear headphones in top shape is easier than you think! Regular cleaning prevents buildup of dirt and grime. Did you know that dirty headphones can cause damage or even loss of sound quality? Use a soft cloth and gentle cleaner to wipe down surfaces. Also, store them in a protective case to avoid tangling and damage. Taking these simple steps ensures your headphones last long and sound great. Who doesn’t want clear music whenever they plug in?
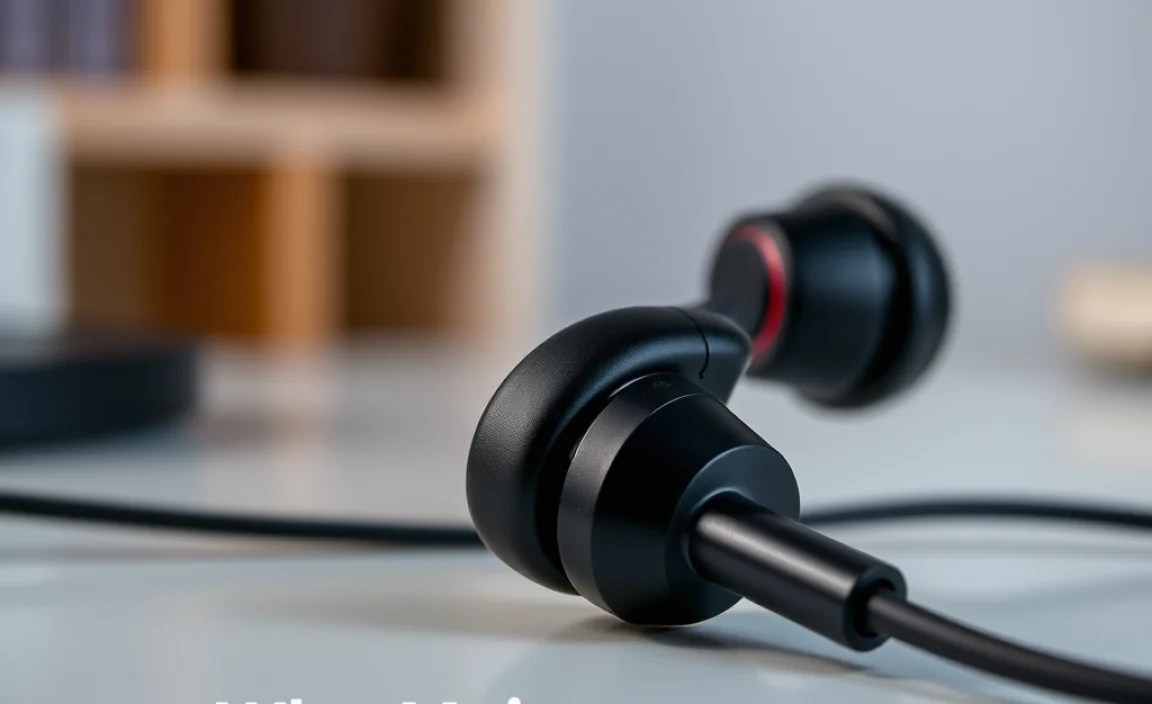
Understanding In-Ear Headphones

Types of inear headphones. Key components and their functions.
In-ear headphones come in different types. Each type has unique features. They fit snugly in your ears. Here are some popular types:
- Earbuds: These sit just outside the ear canal.
- Canalphones: They go deep into the ear. They block out noise.
- Noise-canceling: They reduce outside sounds, making music clearer.
Key parts of in-ear headphones include:
- Drivers: They create sound.
- Cables: They connect to devices.
- Ear tips: They provide comfort and fit.
Understanding these types helps you choose the right pair for your needs.
What are the main types of in-ear headphones?
The main types are earbuds, canalphones, and noise-canceling headphones. Each type has distinct features for different listening experiences.
Why Maintenance is Essential
Impact on performance and sound quality. Longevity and durability benefits.
Keeping your in-ear headphones in tip-top shape is not just a good idea; it is a must! Regular maintenance can boost your sound quality by keeping the speakers clear and clean. It also helps those tiny wires last longer. Think of it as giving your headphones a spa day. Just like a plant needs water, your headphones need care, too. Avoid crumbs and earwax because, let’s face it, they aren’t great musicians!
| Benefit | Impact |
|---|---|
| Performance | Improved sound clarity and bass |
| Longevity | Longer-lasting headphones |
With a little love, your headphones can last for years, making them your best audio buddies!
Daily Care Tips for In-Ear Headphones
Proper cleaning techniques. Safe storage practices.
Keeping your in-ear headphones clean and safe is easy! Start by wiping the earbuds gently with a soft, dry cloth. This removes dirt and oil. For deeper cleaning, use a mild soap and water solution. Avoid getting the sound holes wet.
When not in use, store your headphones in a case. This protects them from dust and tangling. You can also wrap the wires neatly to prevent damage. Following these tips helps your headphones stay in great shape!
How often should you clean in-ear headphones?
You should clean your in-ear headphones at least once a week. This keeps them fresh and sound great!
Quick Care Tips:
- Use a soft cloth for daily cleaning.
- Store in a case to avoid damage.
- Wrap wires gently when putting them away.
Common Issues and Solutions
Troubleshooting sound quality problems. Fixing physical damage.
Sound problems can make listening tough. If sound is low or unclear, try checking the connection. Ensure the plug is fully inserted. Ensure your device’s volume is high. If one earbud doesn’t work, check for dirt in the speaker area. You might need to clean it gently with a soft brush.
Physical damage can also happen. Here are some simple fixes:
- If wires are exposed, use tape to cover them.
- A cracked earbud may need glue or a new casing.
- If the casing is loose, check if you can tighten screws or hinges.
How do I fix a one-sided headphone?
Often, a one-sided headphone issue is due to a loose connection or dirt. Reconnect the headphone and clean it carefully. If the problem persists, there might be a wire break inside.
Deep Cleaning Techniques
Stepbystep cleaning process. Recommended cleaning products.
Keeping your in-ear headphones clean is a must! Here’s how you can do it step by step. First, remove the ear tips and rinse them under warm water. Use a tiny bit of dish soap if they’re really dirty. Don’t soak them! Dab them with a soft cloth to dry. Next, use a soft brush or a cotton swab to clean the speaker mesh gently. For extra shine, a little rubbing alcohol on a cloth can work wonders. Just remember, if your headphones start dancing to music all by themselves, it’s time for a clean!
| Cleaning Item | Recommended Product |
|---|---|
| Ear tips | Warm water & dish soap |
| Speaker mesh | Soft brush or cotton swab |
| General cleaning | Rubbing alcohol |
Maintaining Accessories
Caring for ear tips and cables. Importance of using a protective case.
Taking care of your in-ear headphones is like giving a little hug to your favorite gadget. Clean the ear tips regularly; a quick wash with soap and water keeps them fresh and germ-free. Cables deserve love too! Avoid tangling them like spaghetti; it can cause damage. And don’t forget a protective case! It’s like a cozy blanket for your headphones, keeping them safe from the wild world. Remember: Happy headphones mean happy listening!
| Tips | Benefits |
|---|---|
| Clean ear tips | Prevents ear infections |
| Avoid tangles | Reduces wear and tear |
| Use a protective case | Keeps headphones safe |
When to Seek Professional Help
Signs that indicate professional repair is needed. Finding a reliable service provider.
Sometimes, your in-ear headphones can act like a grumpy cat—ignoring commands and refusing to work. If you hear strange sounds or one side stops working, it’s time to take action. Speak up if they’re making weird noises or giving you static! Finding a good repair service can feel like hunting for a unicorn. Look for certified providers with good reviews. Don’t hand your treasured headphones to anyone who thinks ‘repair’ means duct tape!
| Signs for Repair | What to Look For |
|---|---|
| Strange Sounds | Distortion or static noises |
| Uneven Sound | One earbud is louder |
| Physical Damage | Cables or ear tips are broken |
Preventative Measures to Enhance Longevity
Tips to avoid moisture and sweat damage. Frequency of maintenance checks.
Keeping your in-ear headphones safe from moisture and sweat can help them last longer. Here are some simple tips:
- Always store headphones in a dry place.
- Use a protective case when not in use.
- Take breaks during workouts to avoid sweat build-up.
Check your headphones regularly. Look for dirt or damage. A quick wipe can keep them clean. Doing this once a week can help you catch any issues early.
How often should I check my headphones?
Check your headphones weekly to keep them in great shape. This helps ensure they work well for a long time.
Conclusion
In-ear headphone maintenance is simple and important. Keep them clean by wiping with a soft cloth. Store them carefully to avoid damage. Regularly check the cables for wear. Following these tips helps your headphones last longer and sound better. Stay informed by reading more about headphone care. With some effort, you can enjoy your music perfectly!
FAQs
What Are The Best Methods For Cleaning The Ear Tips Of In-Ear Headphones To Maintain Hygiene And Sound Quality?
To clean the ear tips of your in-ear headphones, first, take them off. Use a soft cloth or tissue to wipe them gently. You can also use mild soap and water. Avoid getting water inside the headphone part. Let the tips dry completely before putting them back on. This keeps them safe and clean!
How Often Should I Replace The Ear Tips And Other Components Of My In-Ear Headphones For Optimal Performance?
You should replace the ear tips of your in-ear headphones every few months. If they get dirty or worn out, change them sooner. Other parts, like the wires or the speakers, may last longer. Always check for any damage and keep everything clean for the best sound!
What Steps Can I Take To Prevent Damage To The Wires And Connectors Of My In-Ear Headphones?
To protect your in-ear headphones, always hold the earbuds by the plastic parts, not the wires. Avoid wrapping the cords too tightly when storing them. Keep your headphones away from water or very wet places. Don’t pull on the wires when you take them out; gently remove them from your ears. Lastly, store them in a safe place, like a case, when you’re not using them.
How Can I Properly Store My In-Ear Headphones To Prolong Their Lifespan And Prevent Physical Damage?
To keep your in-ear headphones safe, always store them in a case when you’re not using them. Avoid wrapping the wires too tightly; they can break. Make sure to keep them away from pets and small kids. Also, keep them dry and away from water. This way, your headphones will last longer!
Are There Specific Products Or Solutions Recommended For Maintaining And Protecting In-Ear Headphones From Moisture And Sweat?
Yes, there are products to help protect your in-ear headphones from sweat and moisture. You can use silicone covers or ear tips. These fit over your headphones and keep them safe. There are also sprays that make headphones water-resistant. Lastly, remember to dry them off after use!
