
Have you ever felt frustrated when your headphones stop working? It can be so annoying! You might think it’s time to buy a new pair, but wait. You might not need to do that just yet. Did you know that many headphone issues come from simple problems in the wire? Learning how to fix headphone wire steps can save you money and time.
Imagine being able to repair your favorite headphones instead of tossing them away. Wouldn’t that be cool? You can impress your friends with your new skill. Plus, fixing your headphone wire is easier than you think. In this article, we’ll share simple steps to help you get your headphones working again. Let’s dive in and discover how to bring your tunes back to life!
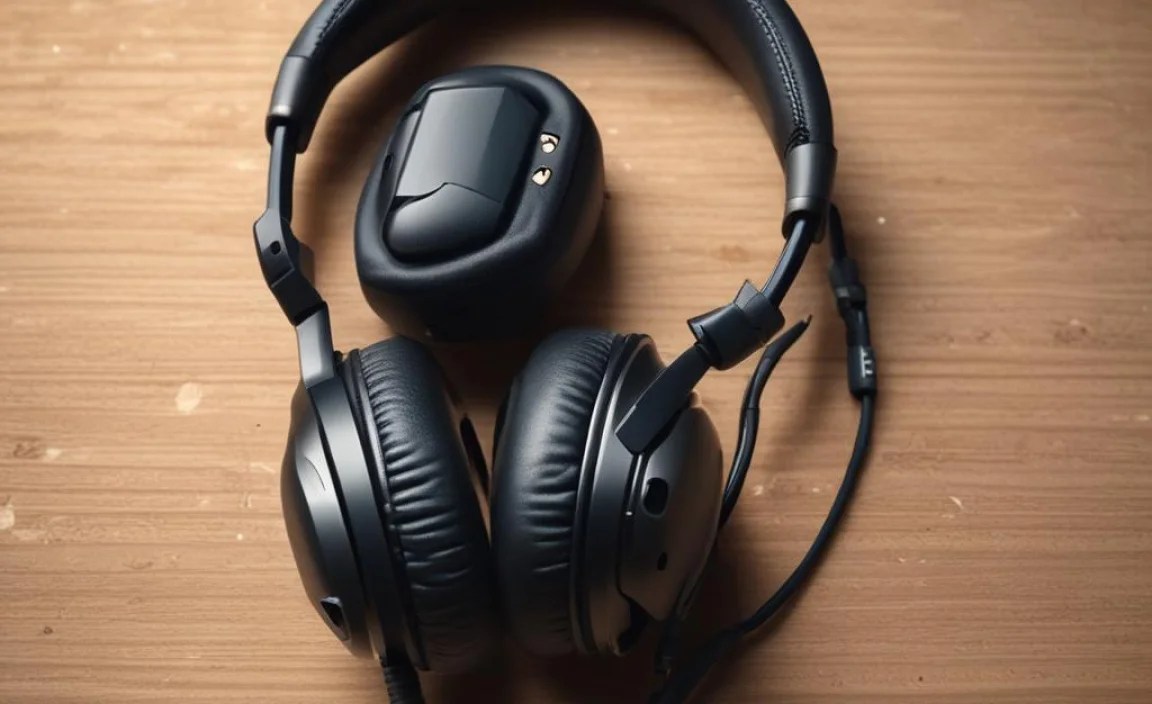
How To Fix Headphone Wire: Simple Steps To Follow

How to Fix Headphone Wire Steps

Troubleshooting a broken headphone wire can feel overwhelming. With a few easy steps, you can often fix the issue. First, inspect the wire for visible damage. Next, carefully strip back the wires and twist the matching colors together. Use electrical tape to secure the fix. After that, test your headphones. It’s surprising how many people toss theirs out when a simple fix could bring them back to life! So, why not give it a try?
Understanding Common Headphone Wire Issues

Identifying frayed or damaged wires. Recognizing connectivity problems.
Many people face problems with their headphone wires. First, look for frayed or damaged wires. These can happen when wires bend too much or get pulled. You might see exposed wires or breaks. Secondly, check for connectivity problems. If your sound cuts in and out, it may be the wire’s fault. Always inspect these issues to help you fix your headphones.
How do I know if my headphone wire is damaged?
You can look for visible wear, such as frays or breaks. Also, if sound cuts out when you move the wire, that’s a sign of damage.
Tools and Materials Needed
List of essential tools for repairs. Recommended materials for wire fixing.
Ready to tackle that pesky headphone wire? You’ll need some trusty tools and materials by your side! Here’s a simple list to get you started:
| Tools | Materials |
|---|---|
| Wire Strippers | Electrical Tape |
| Soldering Iron | Solder |
| Heat Shrink Tubing | Wire |
| Scissors | Connector Jacks |
Mix these tools and materials like a smoothie, and *voilà*! You’ll be ready to fix that headphone wire in no time. Remember, good tools make the job easier. So grab them and let’s get to work!
Step 1: Inspect the Headphone Wire

Detailed methods for checking wire integrity. Signs that indicate the need for repair.
Begin by closely examining the headphone wire. Look for any visible twists or damage. Gently bend the wire while listening for crackling sounds. This can signal a break inside the wire. Here are some signs that repair is needed:
- Wire fraying or exposed inner wires
- Sound cuts in and out
- Unusual noises like static
If you spot any of these issues, it’s time to take action!
What are signs of headphone wire damage?
Signs include visible fraying, sound loss, and crackling noises. Pay attention to these details to know if your headphones need repair.
Step 2: Disassembling the Headphones
Safe techniques for opening headphone casings. Precautions to prevent further damage.
To open your headphones safely, follow careful steps. First, look for any screws. Use a tiny screwdriver to take them out. Next, gently pry the casing apart. Be cautious not to pull too hard. You don’t want to break anything inside!
Here are some tips to avoid damage:
- Work on a soft surface to prevent scratches.
- Keep track of all small parts and screws.
- Avoid using too much force while opening.
Taking your time can help make everything go smoothly!
How can I open my headphones without breaking them?
Be gentle and careful. Check for screws and remove them first. Pry the casing gently, and work slowly to avoid damage.
Step 3: Diagnosing the Problem Area
How to locate the specific fault in the wire. Importance of testing connectivity with a multimeter.
To find where your headphone wire is misbehaving, start by looking closely at the cable. You might spot a twist, bend, or ding that signals trouble! Use a multimeter, a tool that sounds fancy but is really just a gadget to check connections. Simply touch the probes to each end of the wire. If the meter dings, all is well. If it doesn’t, you may have a break. Always remember: a loose connection is like a bad joke—nobody likes it!
| Step | Action |
|---|---|
| 1 | Inspect the cable visually |
| 2 | Use a multimeter to test connections |
| 3 | Identify any faults |
Step 4: Preparing the Wire for Repair
Stripping the wire insulation properly. Ensuring clean wire ends for a solid connection.
Before you fix the headphone wire, you must prepare it well. Start by stripping away the insulation. Use a wire stripper or scissors carefully to avoid cutting the metal inside. You should aim to expose about half an inch of wire. Make sure to keep the ends clean and neat for a solid connection. A clean wire allows better sound. Remember, good preparation leads to better repairs.
How can I strip headphone wire insulation properly?
To strip headphone wire insulation, use a wire stripper. Position the tool around the wire and gently squeeze to cut the insulation without damaging the metal. Pull away the insulation to reveal the metal wire.
Tips for clean wire ends:
- Strip only the necessary length.
- Avoid using too much force.
- Check for any frayed wires.
Step 5: Repairing the Wires
Soldering techniques for a strong bond. Alternative methods like heat shrink tubing.
Once you’ve stripped the wires, it’s time to bring out the magic tools! Soldering is a great way to make sure your wires stick together like peanut butter and jelly. Melt the solder over the wire connections for a strong bond that won’t give up, even under pressure. If you’re feeling adventurous, try using heat shrink tubing instead. It’s like a cozy sweater for your wires! Just slide it over the connection, heat it up, and watch it hug those wires tight.
| Method | Description |
|---|---|
| Soldering | Creates a strong, lasting bond by melting metal. |
| Heat Shrink Tubing | Offers a snug fit to protect and hold wires in place. |
Step 6: Reassembling the Headphones
Best practices for putting headphones back together. Tips for ensuring everything is secure.
After fixing your headphone wire, it’s time to reassemble them carefully. Follow these best practices for a smooth process:
- Check all parts are clean and dry.
- Align screws and parts correctly. They should fit snugly.
- Start with the headband, then attach the ear cups.
- Gently tighten screws but don’t overtighten them.
- Test your headphones before sealing everything.
Taking your time will ensure your headphones are secure and ready for use again!
How can I ensure my headphones are reassembled correctly?
To ensure proper reassembly, check each connection and make sure all parts fit snugly before finalizing the assembly. Pay attention to any screws or clips, ensuring they’ve been tightened correctly.
Step 7: Testing the Repair
How to thoroughly test repaired headphones. Troubleshooting steps if issues persist.
After fixing your headphones, it’s time for a test. Plug them in and listen to your favorite tune. If everything sounds great, you’re a headphone hero! If they crackle or go silent, don’t panic just yet. Check your wire connections and make sure everything is snug. You can try twisting the wire gently too—sometimes they just need a little loving squeeze!
| Issue | Troubleshooting Steps |
|---|---|
| Sound cuts out | Check wire connections and try moving the wire slightly. |
| Only one side works | Inspect both sides of the wire for any damage. |
| No sound at all | Try a different device to see if the problem persists. |
Remember, patience is key! If issues continue, you may need to revisit your repair. Sometimes, even the best repair needs a second chance!
Preventative Measures for Future Headphone Care
Best practices for avoiding wire damage. Recommendations for maintenance of headphone cables.
Taking good care of your headphone wire can save you from future headaches. Keep your headphones tidy by wrapping the cable loosely instead of tightening it like a tourniquet. Use a cable organizer to prevent tangles, which feel like a bad magic trick! Avoid yanking the wire when unplugging; think gently, like you’re dealing with a delicate flower. Also, try to keep them away from pets who view them as chew toys!
| Action | Benefit |
|---|---|
| Wrap cables loosely | Prevents damage |
| Use a cable organizer | Avoids tangling |
| Unplug gently | Reduces wear |
| Keep away from pets | Stops chewing |
Following these tips can keep your headphones in top shape. Plus, you’ll look super cool managing your cables like a pro!
Conclusion
In summary, fixing headphone wires is easy when you follow simple steps. First, identify the damage, then strip the wires carefully. Next, twist them together and cover with tape. Remember, patience is key. You can try these steps today to revive your headphones. If you want to learn more, check out our other articles on fixing tech gadgets!
FAQs
Sure! Here Are Five Related Questions About Fixing Headphone Wires:
Sure! Here are five questions about fixing headphone wires: 1. How can you find the problem in your headphone wire? You can check the wire for bends or breaks. Wiggle it while listening to see if it cuts in and out. 2. What tools do you need to fix headphone wires? You usually need scissors, a lighter, and some electrical tape or heat shrink tubing. 3. How do you fix a broken headphone wire? First, cut the wire where it’s broken. Then, strip the ends, twist the wires together, and cover them. 4. Can you save your headphones if they won’t work? Yes! If you fix the wire, they often work again. Just be careful while cutting and connecting. 5. How can you prevent future problems with headphone wires? You can be gentle with them. Don’t pull or wrap them tightly. Keep them in a safe place when not in use.
Sure! Just let me know the question you want me to answer, and I’ll be happy to help!
What Are The Common Signs That Indicate A Headphone Wire Is Damaged?
If your headphone wire is damaged, you might hear crackling sounds or silence in one ear. Sometimes, the sound can cut in and out. You may also see frays or breaks in the wire. Lastly, if you have to wiggle the wire to get sound, it’s likely damaged.
What Tools Do I Need To Repair My Headphone Wire?
To fix your headphone wire, you will need a few simple tools. Grab some scissors to cut the wire. You’ll also need electrical tape to cover the wires once they are fixed. A wire stripper helps you remove the outer layer of the wire. Finally, a soldering iron can connect the wires better, but make sure an adult helps you with that.
How Can I Identify Where The Break Or Damage In The Headphone Wire Is Located?
To find the break in your headphone wire, first, check the whole cord from the plug to the headphones. Hold the wire and gently bend it while listening for sound. If the sound cuts in and out, you’ve found the damaged spot. Look for any visible twists or breaks in the wire. You can also wiggle the wire at different points to see if that helps you spot the problem.
What Are The Step-By-Step Instructions For Soldering A Damaged Headphone Wire?
To fix your headphone wire, first, gather your tools: soldering iron, solder, and scissors. Next, cut the damaged wire with scissors. Then, strip the ends of each wire to show some metal. Heat the soldering iron and touch it to the metal wire. Add some solder to make it stick. Lastly, let the solder cool, and cover the wire with electrical tape. Now your headphones should work again!
Are There Any Effective Methods To Prevent Future Damage To Headphone Wires?
Yes, there are some simple ways to protect your headphone wires. You can wind them up neatly when you’re done using them. Avoid pulling on the wires too hard, especially near the ends. You can also use a small case to keep them safe. Finally, try not to step on them or bend them too much.
{
