
Have you ever been excited to listen to your favorite music, only to find your headphones not working? It can be super frustrating! You’re not alone—many people face this problem. Sometimes, it’s an easy fix. Other times, it might need a bit of deep cleaning. Did you know that dirt and dust can sneak into your headphones and cause them to fail?
Imagine you just want to enjoy a relaxing afternoon with your tunes. Instead, there’s silence. The good news is there are ways to solve this issue. Everyone loves a good fix! In this article, we will explore how to fix your headphone troubles through deep cleaning techniques. You’ll be back to jamming out in no time!
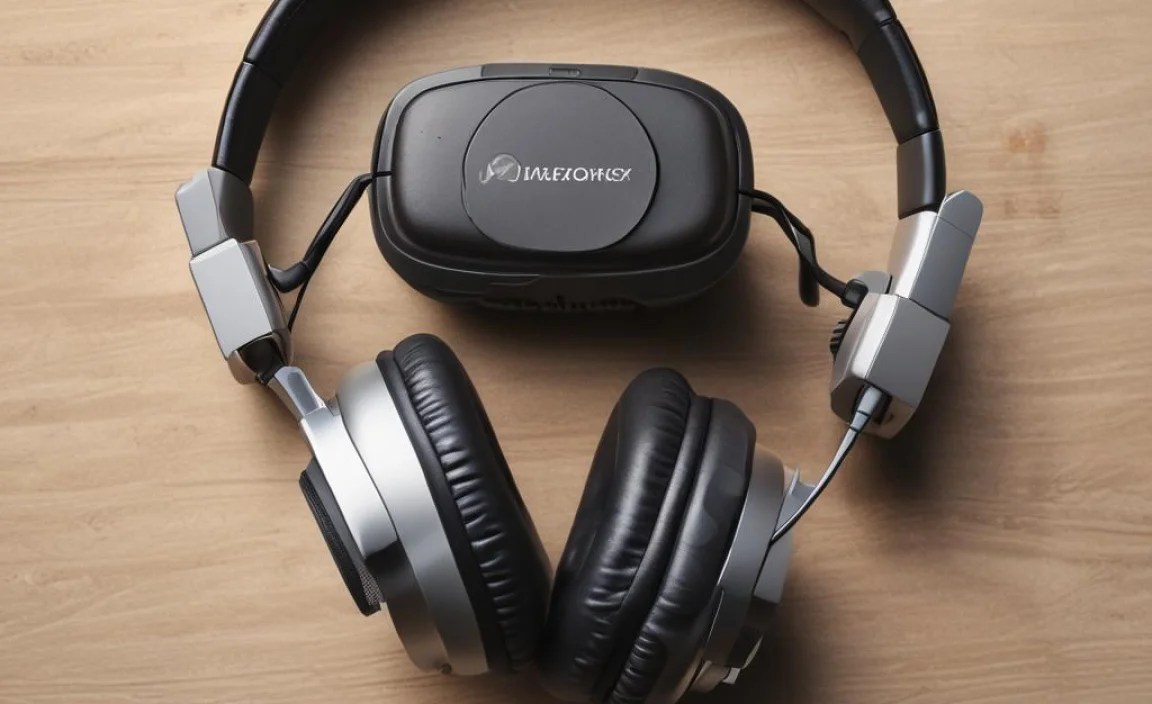
Headphone Not Working? Fix It With A Deep Clean Method!

Headphone Not Working? Deep Clean Fix

Is your favorite pair of headphones giving you trouble? Sometimes, a deep clean is all they need. Dust, grime, or earwax can block audio. Start by gently removing any visible dirt with a soft cloth or cotton swab. Don’t forget the jack! A clean jack ensures strong connections. Did you know that regular cleaning can extend their life? If sounds still fade, it might be time for a tech check. Keeping headphones clean goes a long way.
Common Signs Your Headphones Are Not Working

: no sound, distorted sound, or uneven audio.. Checking physical damage: frayed wires, broken connectors, and ear cup problems..
Have you ever put on your headphones only to hear nothing? That can be a real downer! Common signs that your headphones are misbehaving include no sound, distorted sound, or uneven audio. You might want to look for frayed wires or broken connectors. If there’s a crack in your ear cup that looks like it’s trying to escape, it’s time for a repair. It’s like your headphones are having a bad hair day—but, thankfully, they can be fixed!
| Audio Issue | Physical Damage |
|---|---|
| No sound | Frayed wires |
| Distorted sound | Broken connectors |
| Uneven audio | Ear cup problems |
Basic Troubleshooting Steps
: checking plug compatibility and insertion.. Testing with other devices: isolating the issue to the headphones or the device..
To fix headphone issues, start with the basics. First, check the connection. Make sure the plug fits well in the socket. If it’s loose or not in all the way, that can cause problems. Next, test your headphones with another device. This shows if the issue lies with the headphones or the original device. If they work on one device but not another, the problem might be your device, not the headphones.
How do you know if the problem is with the headphones or the device?
Test your headphones with different devices. If they work on another gadget, your original device may have a problem. Always make sure connections are clean and secure.
Cleaning Your Headphones for Optimal Performance

Importance of cleaning: how dirt and dust affect sound quality.. Tools needed for deep cleaning: what to use such as isopropyl alcohol, soft cloths, and small brushes..
Keeping your headphones clean is vital for great sound. Dirt and dust can block the sound and make it muffled. When you clean your headphones, you help them work better and last longer. It’s like giving them a mini spa day!
To deep clean your headphones, you will need a few tools:
- Isopropyl alcohol to kill germs.
- Soft cloths to wipe the surfaces.
- Small brushes for hard-to-reach areas.
Using these tools regularly can keep your sound crisp and clear. A little cleaning goes a long way!
How often should you clean your headphones?
Clean your headphones every month. This helps keep dirt away and ensures the best sound.
Step-by-Step Deep Cleaning Process
Disassembling the headphones safely: how to remove ear pads and cables if applicable.. Cleaning speaker drivers and covers: techniques to ensure thorough cleaning without damage..
Start by gently removing the ear pads from your headphones. Check for small clips or adhesive that may hold them in place. Be careful not to break anything. If your headphones have a detachable cable, gently unscrew or pull it out. Next, clean the speaker drivers. Use a soft brush or cloth to remove dust, being careful not to touch the delicate parts. For the covers, a slightly damp cloth works well to wipe away dirt. Always handle everything with care.
How to disassemble headphones safely?
To disassemble your headphones safely, follow these steps:
- Remove ear pads gently.
- Check for screws or clips.
- Take out the cable if it is detachable.
- Use soft tools to avoid damage.
What techniques clean speaker drivers?
To clean speaker drivers without damage, always:
- Use a soft brush or cloth.
- Wipe very lightly on surfaces.
- Avoid touching inner components.
Preventive Measures to Avoid Future Problems
Best practices for headphone storage
: keeping them away from moisture and extreme temperatures.. Regular maintenance tips: how often to clean and check headphone functionality..
To keep your headphones happy, store them in a cool, dry place—no steam rooms or hot car dashboards allowed! Moisture and extreme temperatures can ruin your gear faster than a sneeze in a library. Regularly clean your headphones too. A quick wipe every month will help, and give them a thorough clean every few months. Here’s a simple table to track your cleaning schedule:
| Cleaning Type | Frequency |
|---|---|
| Quick Wipe | Once a month |
| Deep Clean | Every 3 months |
With proper care, you can enjoy clear sounds and fewer headphone headaches. Remember, a little maintenance goes a long way!
When to Seek Professional Help
Signs that indicate a need for repair services: persistent problems despite troubleshooting.. Finding reliable headphone repair services: tips on choosing professionals..
It’s time to seek help when your headphones keep acting up. Here are some signs to watch for:
- Sound issues persist, even after fixing settings.
- Physical damage, like frayed wires or cracks, is visible.
- Pairing problems with devices that don’t go away.
Finding reliable repair services is key. Look for:
- Positive customer reviews online.
- Experience with your headphone brand.
- Clear pricing with no hidden fees.
When should I get my headphones repaired?
Consider getting repairs if headphones buzz or don’t work at all. If simple fixes fail, it’s best to consult a pro. Don’t wait too long, as delays can make issues worse.
Headphone Care Tips for Longevity
Usage habits that promote longevity: volume control, handling, and sweat exposure.. Recommended products for headphone care: cases, cleaning kits, and storage solutions..
To keep your headphones working well, good habits help. First, control the volume. Loud sounds can damage them. Handle them gently too. Avoid yanking or dropping them. Keep sweat away during workouts. Long exposure can ruin the inner parts.
Use the right products to protect your headphones:
- Headphone cases to prevent damage
- Cleaning kits for hygiene and maintenance
- Storage solutions for safe keeping
These tips will help your headphones last longer and sound better!
How can I fix headphones not working?
You can try cleaning the headphone jack. Dust and dirt can cause issues. Also, check the wires for damage. Sometimes, you may need to reset or update your device. Simple fixes can often solve big problems!
Conclusion
In summary, if your headphones aren’t working, a deep clean can help. Check for dirt in the jacks and ports. Use soft cloths and mild cleaners to avoid damage. If you follow these tips, you might fix the issue yourself. For more detailed steps, feel free to explore further resources. Let’s keep our headphones working well!
FAQs
What Are The Common Signs That Indicate My Headphones Might Need A Deep Clean?
You might need to clean your headphones if they smell bad or feel sticky. If you see dirt or grime on them, that’s also a sign. Your headphones might not sound as good if they’re dirty. Finally, if you notice earwax on the parts that go in your ears, it’s time to clean them up!
How Can I Safely Clean The Ear Cups And Drivers Of My Headphones Without Damaging Them?
To clean the ear cups and drivers of your headphones, start by unplugging them. Use a soft, dry cloth to wipe the ear cups gently. For the drivers, use a slightly damp cloth with water to avoid getting them wet. Be careful not to get moisture inside the tiny holes. Let everything dry before using your headphones again.
What Tools And Materials Do I Need To Perform A Deep Clean On My Headphones?
To deep clean your headphones, you need a few simple tools and materials. Get a soft cloth, cotton swabs, and rubbing alcohol. You can also use soap and water for the ear pads. Make sure to have a small bowl to mix the soap and water. These items will help you clean your headphones safely!
Are There Specific Cleaning Solutions That Are Recommended For Cleaning Headphone Components?
Yes, you can use some specific cleaning solutions for your headphones. A mix of water and rubbing alcohol works well. Just use a soft cloth to gently wipe the parts. Avoid using spray cleaners directly on the headphones. Always be careful not to get moisture inside the headphone parts.
What Preventive Measures Can I Take To Ensure My Headphones Remain In Good Working Condition After Cleaning?
To keep your headphones safe after cleaning, store them in a case when you’re not using them. Avoid wrapping the cords too tightly, as this can hurt them. Keep them away from water and too much heat. Lastly, don’t share them with others too often to prevent germs.
