
Have you ever noticed your headphones crackling or cutting out? This can be frustrating, especially when you’re enjoying your favorite songs or a movie. Often, the problem lies in a dirty headphone jack.
If you’re wondering how to fix this, you’re not alone. Many people face this issue. But the good news is that cleaning headphone jacks can be simple and fun! You don’t need fancy tools. With some easy DIY methods, you can get your headphones working again.
Imagine hearing your music clearly again without static or interruptions. Isn’t that a great thought? In this article, we’ll explore various DIY cleaning methods. You’ll discover how to restore your headphone jack quickly and easily.
So, grab a few common items from around your house, and let’s dive into this fun and helpful cleaning adventure!
Cleaning Headphone Jack with DIY Methods
Keeping your headphone jack clean is important for clear sound. Did you know that dirt can block the connection? Simple DIY methods can help! Use a toothpick or a small brush to remove debris carefully. A burst of compressed air can also dislodge dust. Always make sure to turn off your device first. These easy fixes can save you money and improve sound quality. Why let a dirty jack ruin your music listening experience?
Importance of a Clean Headphone Jack

Discuss the effects of debris and dust on sound quality.. Explain how a dirty headphone jack can damage headphones or devices..
Keeping your headphone jack clean is super important for good sound. Dirt and dust can sneak in and mess with your music. This junk can make your tunes sound fuzzy or even silence them! Plus, grime can harm your headphones or devices. If you’re not careful, you might end up with broken headphones, and that’s no fun. Remember: clean jack, happy ears!
| Effect of Debris | Possible Damage |
|---|---|
| Poor sound quality | Device malfunction |
| Intermittent audio problems | Headphone damage |
Common Signs of a Dirty Headphone Jack

List symptoms indicating the need for cleaning, such as crackling sounds or intermittent connection.. Describe how poor connectivity can affect the user experience..
It’s easy to ignore a dirty headphone jack, but symptoms can show up quickly. You might hear crackling sounds while listening. Sometimes the sound will cut in and out. This means your connection isn’t strong. Poor connectivity can ruin your listening experience. You may miss important parts of your favorite song or movie. Here are some common signs:
- Crackling or popping sounds
- Intermittent audio
- No sound at all
- Headphones not recognized
How can a dirty headphone jack affect sound quality?
A dirty headphone jack can lead to poor sound quality. Dust and dirt block the connection, causing interruptions. This can be frustrating during a call or while enjoying music.
Essential Tools for DIY Cleaning

Detail the necessary tools and materials needed for effective cleaning.. Include recommendations for household items that can be used..
Cleaning your headphone jack is easy! All you need are a few simple tools from home. Here’s what you can use:
- A soft toothbrush or a small paintbrush helps remove dust.
- Cotton swabs can clean hard-to-reach areas.
- Isopropyl alcohol keeps the jack free from grime.
- Compressed air blows away tiny particles.
With these handy tools, you can keep your headphones working well. Regular cleaning helps prevent problems!
What household items can I use for cleaning my headphone jack?
You can use a soft toothbrush, cotton swabs, isopropyl alcohol, and compressed air. These items are common and very effective for cleaning!
Step-by-Step Cleaning Techniques
Provide detailed, easytofollow instructions for cleaning the headphone jack.. Include multiple methods to cater to different levels of dirtiness..
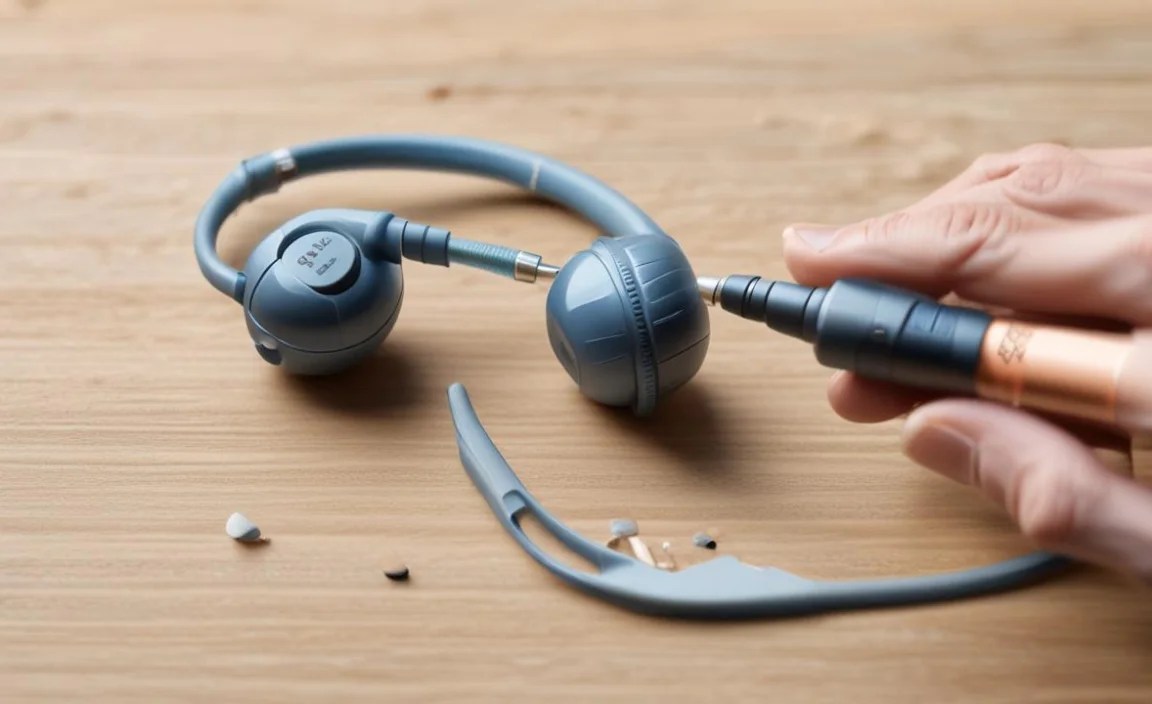
Cleaning your headphone jack doesn’t need to be rocket science! Here’s how to tackle that buildup of gunk. Start by using a toothpick to gently scrape out any dirt. Be careful; you don’t want a broken toothpick singing a tragic song! Next, a can of compressed air can blow away the stubborn stuff. If you’ve got more dirt, dab a cotton swab in rubbing alcohol, and lightly clean inside the jack. Voila! Your headphones will thank you.
| Method | What You Need | Difficulty Level |
|---|---|---|
| Toothpick Scrape | Toothpick | Easy |
| Compressed Air | Can of air | Medium |
| Cotton Swab Clean | Cotton swab, rubbing alcohol | Easy |
These methods can help you keep your headphones working well. Remember, clean equipment is happy equipment!
Precautions to Take While Cleaning
Discuss safety measures to protect the device from damage.. Mention what to avoid during the cleaning process..
Cleaning your headphone jack is important, but safety comes first. To protect your device, here are some tips:
- Always turn off your device before cleaning.
- Use soft tools like a cotton swab or a small brush.
- Avoid using liquid cleaners; they can damage the electronics.
- Don’t stick anything too sharp or hard inside the jack.
- Be gentle! Excess pressure can harm your device.
Taking these precautions ensures your device stays safe while you clean it.
What tools are safe to use for cleaning?
Soft brushes, cotton swabs or compressed air are safe tools to gently remove dirt without damaging the jack.
Maintaining a Clean Headphone Jack
Offer tips for regular maintenance and prevention of debris buildup.. Suggest storage and usage practices to keep the headphone jack clean..
To keep your headphone jack clean and shiny, check it regularly. Dust and lint love to sneak in. Use a soft brush or toothpick to gently remove debris. Store headphones in a pouch to protect them. Avoid leaving them in pockets where they can collect fluff. If you ever see gunk in the jack, get out your trusty rubbing alcohol on a cotton swab. Quick tip: you wouldn’t wear muddy shoes inside; don’t let dirt sneak into your headphones!
| Tip | Description |
|---|---|
| Regular Cleaning | Check your headphone jack weekly and clean it gently. |
| Storage | Keep headphones in a case, not stuffed in a pocket. |
| Usage | Avoid using headphones in dusty areas. Protect them! |
Alternative Cleaning Products
Review commercially available cleaning solutions and their effectiveness.. Compare DIY methods to these products in terms of cost and efficacy..
Many cleaning solutions promise to restore your headphone jack to its former glory. Some are sold in stores with fancy labels. But are they worth it? A popular product might be the isopropyl alcohol spray. It’s effective but can be a bit pricey, around $10 a bottle. On the flip side, simple DIY methods, like using a toothpick and some good ol’ compressed air, often do the trick at a fraction of the cost. Check out this comparison:
| Cleaning Method | Cost | Effectiveness |
|---|---|---|
| Commercial Cleaner | $10 | High |
| DIY Method | $1 | Moderate to High |
So next time your tunes sound more like a sad song, consider a DIY approach. It might save your wallet and still keep your jams rocking!
FAQs about Cleaning Headphone Jacks
Address common questions and concerns related to headphone jack maintenance.. Provide expert answers to help users troubleshoot issues postcleaning..
Many users wonder how to keep their headphone jacks clean. Common questions often include concerns about dirt buildup and sound quality. Cleaning can help improve the sound and prevent issues, but here are some frequent worries:
What happens if I use the wrong cleaning method?
Using the wrong method may damage your device. Always use soft tools, like a cotton swab, for cleaning.
What if my headphones still don’t work after cleaning?
Check for deeper issues if cleaning does not solve it. Try another pair of headphones or check your device’s settings. If problems persist, consult an expert.
Can I use liquid cleaners?
Avoid liquid cleaners directly in the headphone jack. They may cause harm. Stick to dry cleaning methods for safety.
Conclusion
In conclusion, cleaning your headphone jack using DIY methods is easy and effective. You can use tools like cotton swabs and compressed air to remove dirt. Remember, checking for debris regularly keeps your audio clear. Don’t wait for problems to grow; start cleaning today! For more tips, check out articles on headphone maintenance. Let’s keep our devices in top shape!
FAQs
What Common Household Items Can Be Used To Safely Clean A Headphone Jack?
You can use a toothpick or a cotton swab to clean a headphone jack. First, turn off your device. Gently stick the toothpick or cotton swab into the jack. Carefully scrape or wipe away dirt and dust. You can also use a little rubbing alcohol on the cotton swab for extra cleaning.
How Can I Tell If My Headphone Jack Needs Cleaning?
If your headphones sound fuzzy or crackly, your headphone jack might need cleaning. You might also notice that the sound cuts out sometimes. If you see dust or dirt in the jack, it’s time to clean it. Use a soft cloth or a cotton swab to gently clean it out. That should help your headphones work better!
What Diy Methods Are Effective For Removing Lint And Debris From A Headphone Jack?
To clean your headphone jack, you can use a toothpick. Be gentle so you don’t damage anything inside. You can also try a can of compressed air to blow out dust. A small brush, like a clean paintbrush, works well too. Just be careful not to push stuff further in!
Are There Any Precautions I Should Take When Cleaning My Headphone Jack To Avoid Damage?
Yes! When you clean your headphone jack, be very gentle. Use only a soft, dry cloth or a cotton swab. Don’t use water or any liquids, as they can break your device. Make sure your headphones are unplugged before you start cleaning. This way, you keep everything safe!
How Can I Prevent Dirt And Debris Buildup In My Headphone Jack In The Future?
To keep dirt out of your headphone jack, you can cover it when not in use. Use a small plug or a case that protects it. Clean your headphones regularly with a soft cloth. Avoid putting your device in dirty pockets or bags. These steps will help keep your headphone jack clean!
