
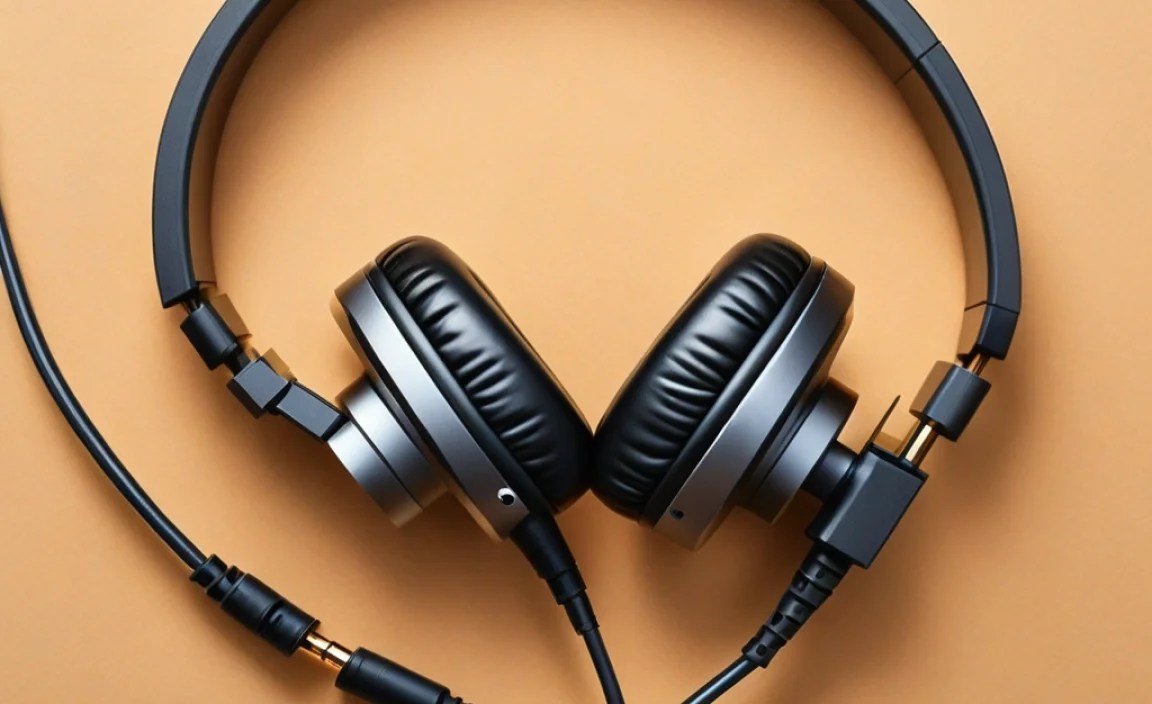
Have you ever felt frustration when your favorite headphones suddenly stop working? It can be really annoying, especially when you want to listen to music or watch a video. Many people throw away their damaged headphones without realizing that they can fix them at home. That’s right! You can save money and help the planet by learning how to fix headphone cables yourself.
Imagine this: You’re about to relax and enjoy your favorite playlist when suddenly, silence! You realize the sound only comes from one side. This common problem often starts with a broken cable. But what if I told you that fixing it could be simple and fun? With just a few tools, you can bring your headphones back to life.
In this article, we’ll explore easy steps on how to fix headphone cable at home. You’ll learn what to do, and you’ll feel proud of your handy skills. Are you ready to become a headphone repair pro? Let’s dive in!
How To Fix Headphone Cable At Home: Easy Repair Tips

How to Fix Headphone Cable at Home

cable at home is easier than you might think! First, check for visible damage like frays or cuts. You can use electrical tape or heat shrink tubing to repair minor issues. If the damage is worse, consider soldering new connectors. Using a multi-tool can help with cutting and stripping wires. Have you ever tried fixing your own headphones? It’s not just cost-effective; it’s satisfying too!
Common Headphone Cable Issues
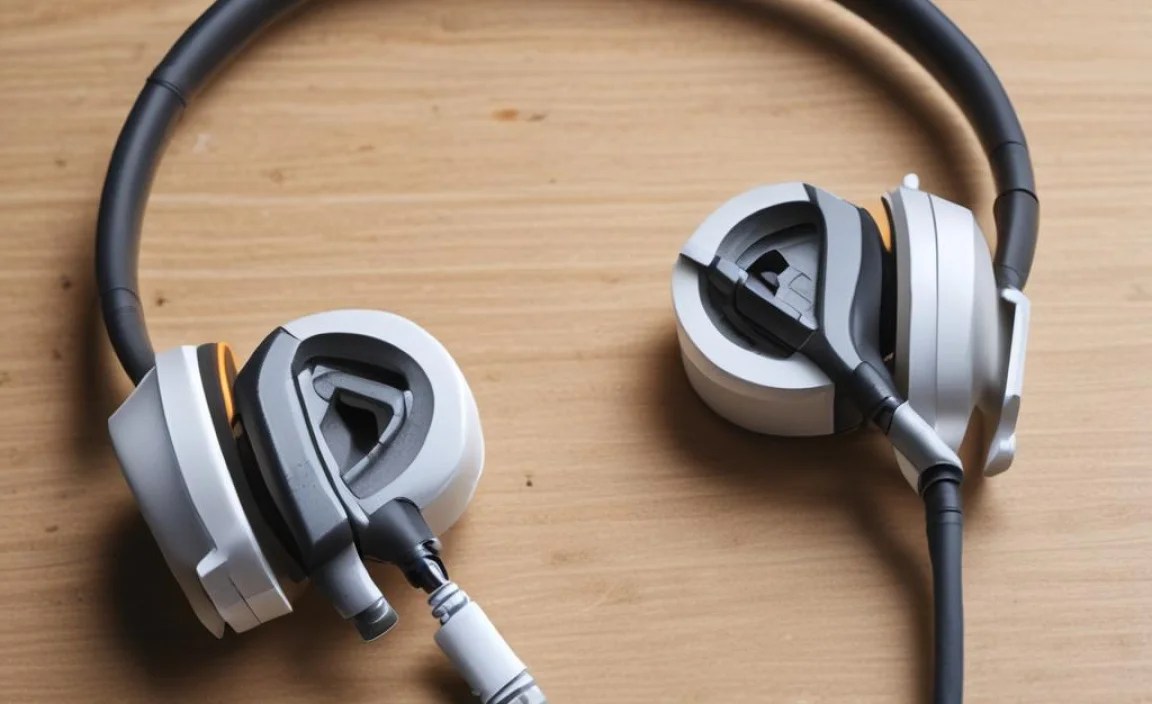
Identify signs of damage in headphone cables.. Different types of headphone cable problems: fraying, cuts, and short circuits..
Headphone cables can be fragile little things! Look out for signs of damage like fraying, cuts, or even mysterious buzzing sounds. If your music starts dropping like a hot potato, it might be a sign too. Did you know? Almost 60% of headphone users have faced cable problems at some point. Here’s a fun chart to break it down:
| Problem | Signs |
|---|---|
| Fraying | Visible wires, funny sounds |
| Cuts | Audio drops, cut-off tunes |
| Short Circuits | No sound, crackling noise |
Keep an eye on your cables, and they’ll keep the music playing!
Tools and Materials Needed

List essential tools for repairing headphone cables.. Recommended materials and parts for DIY repairs..
To repair headphone cables, you’ll need some basic tools and materials. Gather these items to get started:
- Wire cutters: For cutting damaged parts.
- Soldering iron: To join wires together.
- Heat shrink tubing: To cover and protect connections.
- Electrical tape: For securing wires.
- Multimeter: To check if wires are working.
These tools will make your DIY repair easier and more effective.
What do I need for fixing headphone cables?
You need the right tools and materials. Wire cutters, a soldering iron, and electrical tape are essential.
Step-by-Step Repair Process
Detailed instructions on assessing the damage.. Guide on stripping cables and soldering techniques..
Begin by checking your headphone cable for any breaks or frays. Hold the cable gently and look closely at each part. Next, if damage is found, you need to strip the cable. Use a pair of wire strippers to remove a small part of the outer layer. Be careful! Then, strip the inner wires too. Make sure to expose a little of each wire. Finally, use a soldering iron to join the wires back together. Remember to let it cool before testing.
How do I know if my headphone cable is damaged?
Look for visible signs like frays, cuts, or kinks. Listen for sound issues too—if audio is crackly or only comes from one ear, your cable could be broken.
Steps to assess damage:
- Check for cuts on the surface.
- Test audio quality.
- Look for loose connections.
Alternatives to Repairing Headphone Cables
Options for using connectors or replacement cables.. When to consider professional repair services..
There are fun ways to deal with a bad headphone cable! You can use connectors or even replace the cable. Connectors help join wires without fuss. It’s like giving your headphones a little makeover. But if the problem is too tricky, like a stubborn knot in a shoelace, it might be time to call in the pros!
| Options | Benefits |
|---|---|
| Connectors | Easy to use and save your headphones! |
| Replacement Cables | Can breathe new life into old headphones! |
| Professional Repair | Best for complex issues; no more guesswork! |
So whether you’re a DIY hero or prefer expert help, your tunes can keep on playing!
Preventive Measures for Headphone Care
Tips on how to properly store and handle headphones.. Best practices to extend the lifespan of headphone cables..
Headphones can be our best friends, but they need some TLC! Always store them in a cool, dry place, preferably in a case. Curly cables? No, thank you! Try wrapping them in a loose figure-eight. This helps prevent damage. Avoid pulling on the cable when you unplug your headphones; yanking is for tug-of-war, not tech! Lastly, keep them away from pets. They love to chew, and your headphones will agree!
| Storage Tips | Best Practices |
|---|---|
| Use a case | Wrap cables in a figure-eight |
| Store in a dry place | Avoid yanking the cable |
| Keep away from pets | Handle gently |
Conclusion
In conclusion, fixing your headphone cable at home is simple! You can identify the problem, strip the wires, and solder them back together. Always test your headphones after repairs. If you want more tips, check online tutorials or guides. Remember, with a little patience, you can save your favorite headphones and make them work again!
FAQs
What Are The Common Signs That Indicate My Headphone Cable Is Damaged And Needs Repair?
You can tell your headphone cable is damaged if you hear crackling sounds. If one side of your headphones doesn’t work, that’s another sign. You might see fraying or cuts on the cable too. Sometimes, the sound can cut in and out. If you notice any of these signs, you should think about getting it fixed!
What Tools And Materials Do I Need To Fix A Broken Headphone Cable At Home?
To fix a broken headphone cable, you will need a few things. First, get a pair of scissors to cut the cable. Next, you’ll need some electrical tape or heat shrink tubing to cover the wires. You might also want a soldering iron and solder if you’re careful. Lastly, find a multimeter to check if the cable works.
How Do I Identify The Specific Location Of A Break In My Headphone Cable?
To find the break in your headphone cable, hold the headphones and gently bend the wire. Listen for sound changes in the headphones. If they crackle or work only at certain spots, that’s where the break is. You can also try pulling the wire while listening. Mark the spot where you hear sound.
What Are The Step-By-Step Instructions For Soldering A Headphone Cable Back Together?
First, you need to gather your tools: solder, soldering iron, and wire cutters. Carefully cut off the damaged part of the headphone cable. Strip the plastic off each wire inside to expose the metal. Heat the soldering iron, then touch it to the wire and add solder until it sticks. Finally, connect the wires back together and cover them with tape for safety.
Are There Any Alternative Methods To Repair Headphone Cables Without Soldering?
Yes, there are ways to fix headphone cables without soldering. You can use electrical tape to wrap broken areas. Heat-shrink tubing is another option. Simply slide it over the damaged part and heat it to make it fit snugly. You can also use a connector to join the wires together.
